Test Your Sump Pump in 5 Minutes (Before the Next Storm Does It For You)
We replace sump pumps, and some of them genuinely needed replacing. But a large share of the flooded basements we see in the DMV had a pump that would have worked fine if someone had noticed the float was jammed against the pit wall, the discharge line was frozen, or the outlet it was plugged into had tripped weeks earlier. None of those take a contractor to find. They take a bucket of water and five minutes, done before the storm rather than during it.
Why sump pumps fail when you need them
A sump pump sits idle for weeks, sometimes months, then has to run hard during the worst storm of the season. That pattern is the problem. Debris settles in the pit, the float switch sticks, the check valve corrodes, and the motor bearings sit still. Nothing tells you any of this until water is already rising, and by then the power may be out too.
The failures we trace most often are boring ones: a tripped outlet or breaker, a float switch caught on the pump cord or the pit liner, a discharge pipe clogged or frozen at the outlet, a check valve that lets the water run back into the pit so the pump cycles itself to death, and a pump that is simply old. Every one of those is visible if you look.
Know what you have before you start
Look into the pit. A submersible pump sits entirely underwater in the pit. A pedestal pump has its motor on a column above the pit with only the base in the water. Find the float: a ball on an arm, a sealed puck on a short tether, or a vertical rod with a float that slides up and down. Find the white or black discharge pipe leaving the pit and follow it to where it exits the house. Five minutes of looking, and you understand the whole system.
The five-minute bucket test
Do this now, and then every few months, and always before hurricane season and before winter. You need a five-gallon bucket and a flashlight.
- Check the power firstMake sure the pump is plugged in and the outlet has power. If it is a GFCI outlet, press test, then reset, and confirm it latches. A tripped GFCI is one of the most common reasons a pump does nothing.
- Fill the bucket and pour it in slowlyPour water into the pit, not onto the pump, until the water level lifts the float. Most pits need most of a five-gallon bucket; some need two.
- Watch the float rise and the pump startThe float should lift freely and the pump should kick on without hesitation. If the float rises and nothing happens, stop and read the troubleshooting section below.
- Watch the water go downThe pump should empty the pit steadily and shut itself off when the float drops. It should not run on with the pit empty.
- Listen for the check valveWhen the pump stops, you should hear a single clunk as the check valve closes. If water rushes back into the pit from the pipe, the valve has failed.
- Go outside and check the outletHave someone run the test again while you watch where the discharge pipe exits. Water should come out freely and land well away from the foundation, on ground that slopes away from the house.
That is the whole test. If everything above happened, your pump will start the next time the water table rises. If anything did not, you found it on a dry afternoon instead of at two in the morning.
Twice-a-year cleaning and inspection
Once in spring and once in fall, go a step further. This takes an hour and the only tools are gloves, a shop vacuum, a bucket, and a scrub brush.
- Unplug the pumpAlways unplug before your hands go near the pit. If the pump is hard-wired rather than plugged in, switch off its breaker and confirm it is off before you touch anything.
- Clear debris from the pitScoop out gravel, silt, and anything that fell in. Sediment around the intake screen chokes the pump and can grind the impeller. A shop vacuum makes quick work of the bottom.
- Clean the intake screenIf the pump lifts out easily, take it out and scrub the screen at its base. Many pumps are held only by the discharge pipe through a union fitting; loosen it by hand.
- Free the floatMake sure the float cannot catch on the pit wall, the power cord, or the pipe. Zip-tie the cord neatly to the discharge pipe so it stays out of the float's path.
- Reinstall and set the pump levelA pump that tips sideways lets the float bind. Set it flat on a solid base, a paver or a brick, rather than directly on silt.
- Plug in and run the bucket test againNever finish a cleaning without proving the pump starts.
Electricity and water, in one pit
Do not reach into a sump pit with the pump plugged in, and do not stand in water on the basement floor while you work near outlets. Current electrical code generally calls for GFCI protection on basement receptacles; if your pump outlet is not protected, or the pump trips its GFCI repeatedly, that is an electrician's question rather than something to bypass.
The discharge line and the outside end
A perfectly good pump is useless if the water has nowhere to go. Follow the pipe outside. In winter, an exposed discharge line can freeze solid at the outlet and back the water straight into the basement. In summer, the outlet gets buried in mulch, crushed by a mower, or clogged by leaves.
- Keep the outlet clear and visible. Pull mulch and soil away from it, and mark it so nobody buries it during yard work.
- Send the water well away from the house. If the discharge dumps beside the foundation, it soaks back down and the pump recycles the same water all day. An extension carrying it several feet farther out onto ground that slopes away fixes that. Our gutter and grading guide covers the same principle for downspouts.
- Add a freeze relief fitting. A grated air-gap fitting where the line leaves the house lets water escape outside even if the buried section downstream freezes.
- Never route it into the sanitary sewer. Connecting a sump to a laundry sink or floor drain is commonly prohibited by local utilities in this region, and it overloads the sewer in heavy rain. Ask your utility if you are unsure where yours goes.
Cheap add-ons that catch a failure early
The test proves the pump works today. These additions tell you when it stops working tomorrow, or keep the water out when the power fails.
- A high-water alarm. A battery-powered alarm that sits in the pit just above the normal high-water mark and screams when the water gets there. It is the single best value on this list. Wi-Fi models will text your phone, which matters if you travel.
- A new check valve. If yours is the old opaque style and you cannot tell whether it works, replace it with a clear-body valve so you can see the flap. Install it with the arrow pointing up, in the direction of flow.
- A battery backup pump. A second pump on a separate float, running from a deep-cycle battery, takes over when the main pump fails or the power is out. Storms knock out power exactly when the pit is filling fastest, which is why we recommend backup on almost every pump in a finished basement.
- A cover for the pit. A sealed lid keeps debris and children out and keeps the humid air in the pit out of the basement.
Installing a plug-in alarm or swapping a check valve on a plugged-in pump is well within reach for most homeowners. Plumbing in a full backup system, which needs its own discharge connection and a battery mounted safely, is where many people reasonably hand it off.
What it costs: doing it yourself versus hiring it out
These are typical ranges for the region. The DIY column is mostly parts from a hardware store. The professional figure for replacement with a battery backup matches our basement mold service page.
| Item | What it does | Typical cost |
|---|---|---|
| Five-gallon bucket, gloves, scrub brush | Everything for the bucket test and cleaning | $10–$25 |
| Battery high-water alarm | Sounds when the pit overfills | $15–$35 |
| Wi-Fi water alarm | Sends an alert to your phone | $40–$100 |
| Clear-body check valve | Stops water running back into the pit | $20–$45 |
| Discharge freeze relief fitting | Lets water escape if the outside line freezes | $15–$40 |
| Sealed pit cover | Keeps debris and humid air in the pit | $30–$80 |
| Replacement primary pump | A typical submersible pump for a residential pit | $120–$350 |
| Battery backup pump kit, battery extra | Second pump and controller for power outages | $150–$400 |
A full DIY pass with an alarm, a new check valve, and a freeze fitting usually runs well under the cost of one service call. Typical range for this market — not a quote. Every property is different, and the number that matters is the written scope you get after the free inspection.
| Situation | Doing it yourself | Hiring it out |
|---|---|---|
| Bucket test and seasonal cleaning | $10–$25 in supplies, an hour | $100–$250 per service visit |
| Replace a check valve on an accessible line | $20–$45 and a screwdriver | $150–$300 installed |
| Sump pump replacement with battery backup | Possible for confident DIYers, not recommended for most | $900–$2,200 |
| Water comes in even though the pump works | Gutters, downspouts, and grading first | $3,000–$15,000 for drainage and grading correction, quoted after inspection |
| Basement already flooded | Power off, water out, pad up the same day | $1,500–$4,000 for a single-room water loss |
If you have already lost a pump in a storm, the real cost is whatever got wet, which is why the alarm and backup matter more than the pump itself. Typical range for this market — not a quote. Every property is different, and the number that matters is the written scope you get after the free inspection.
When the test fails: quick troubleshooting
If the pump did not behave during the bucket test, work through these in order before you buy anything.
- Float rises, nothing happens. Check the outlet with a lamp or a plug-in tester. Reset the GFCI and the breaker. If the pump uses a piggyback plug, where the float plugs into the wall and the pump plugs into the back of it, make sure both plugs are fully seated.
- Pump hums but does not pump. Unplug it. The impeller may be jammed with debris or the intake screen choked. Clean it and retest. A pump that still hums and does nothing usually needs replacing.
- Pump runs but the water level barely drops. Look for a clogged or frozen discharge line, a check valve installed backward, or a closed valve on the line.
- Pump starts and stops every few seconds. Usually a failed check valve letting water fall back, or a float set too tight. A pump that cycles like this wears out fast.
- Pump runs constantly and will not shut off. The float is stuck in the up position, or water is genuinely coming in faster than the pump can move it. The first is a fix; the second needs a professional to look at.
If the pump is old enough that nobody in the house remembers installing it, check the label for a date code. An old pump that passes the test today is still the likeliest candidate to quit during a long storm, and that is exactly the case for adding a backup.
Why a sump matters for mold, not just water
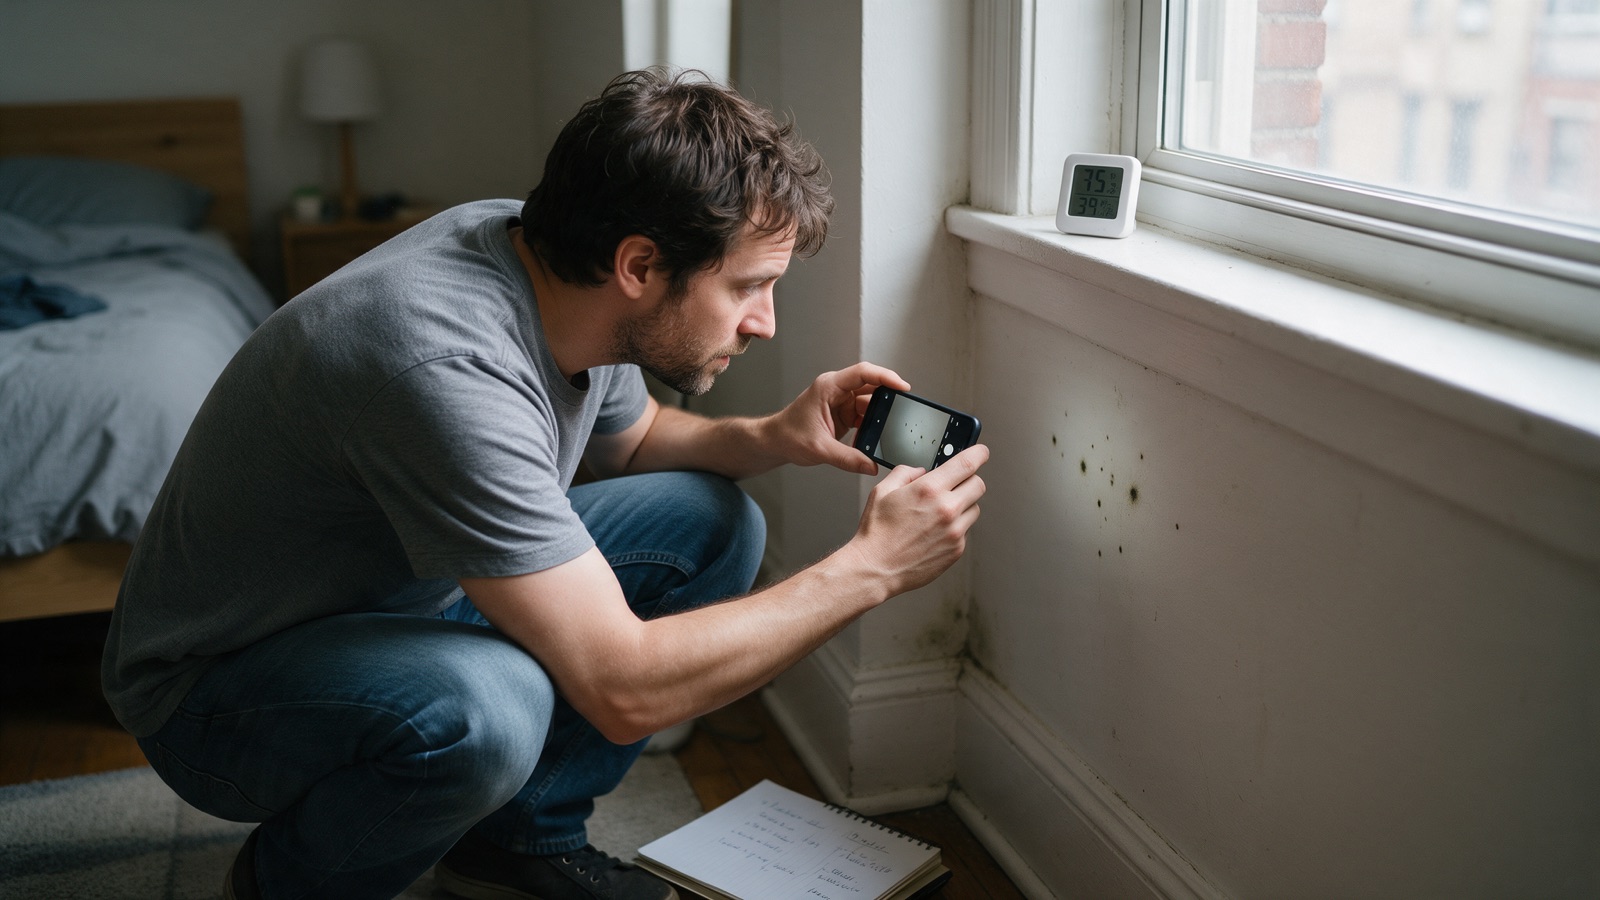
A flood is the obvious failure. The slower one is a pump that runs constantly in a damp, open pit, raising the humidity of the whole lower level. Basements here already struggle with humid summer air, and an uncovered sump adds to it. Cover the pit, run a properly set dehumidifier, and watch a cheap hygrometer. Keeping relative humidity below about 60% in a basement is what keeps finished walls and stored boxes from growing anything.
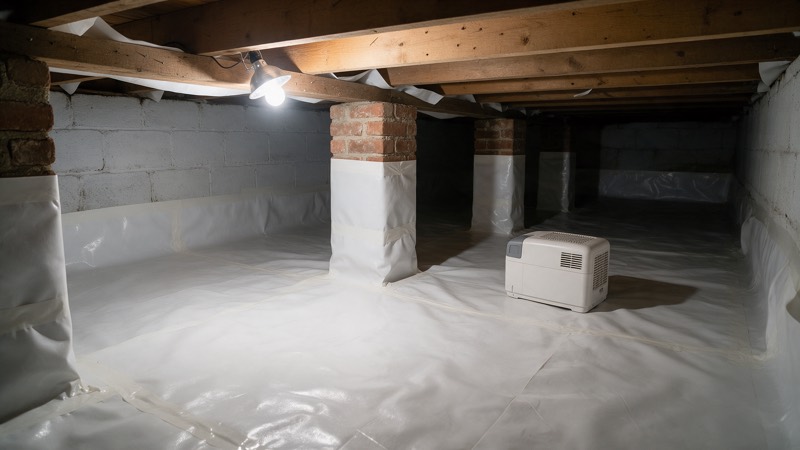
The same logic applies under houses without a basement. A crawl space with a sump has the same failure points, just in a place nobody checks.
Where you stop
Everything above is maintenance. Bring someone in when any of these are true:
- The pump runs constantly even in dry weather, or cannot keep up during a normal rain. That points to groundwater, a failed perimeter drain, or an undersized pump.
- The pump needs replacing and it is hard-wired, buried in a sealed radon pit, or tied into a perimeter drainage system you cannot see.
- The outlet trips repeatedly, there is no outlet within reach of the cord, or you find yourself wanting an extension cord. That is electrical work.
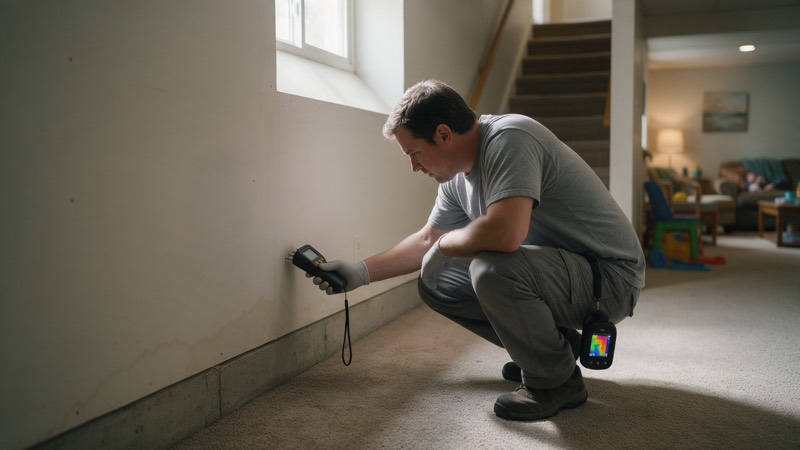
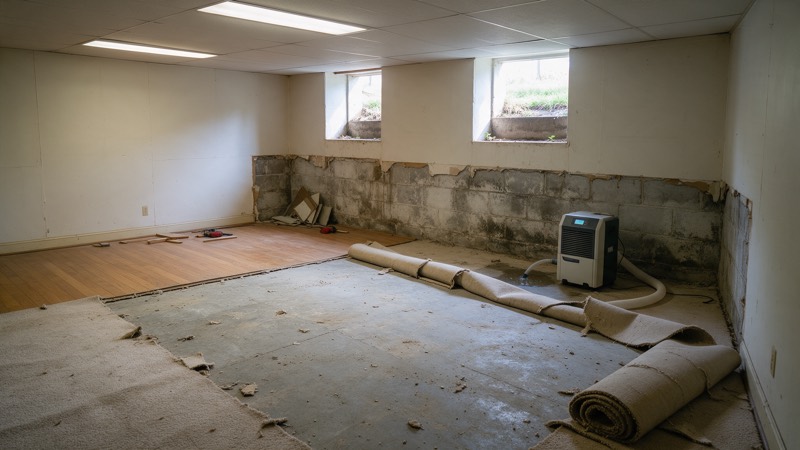
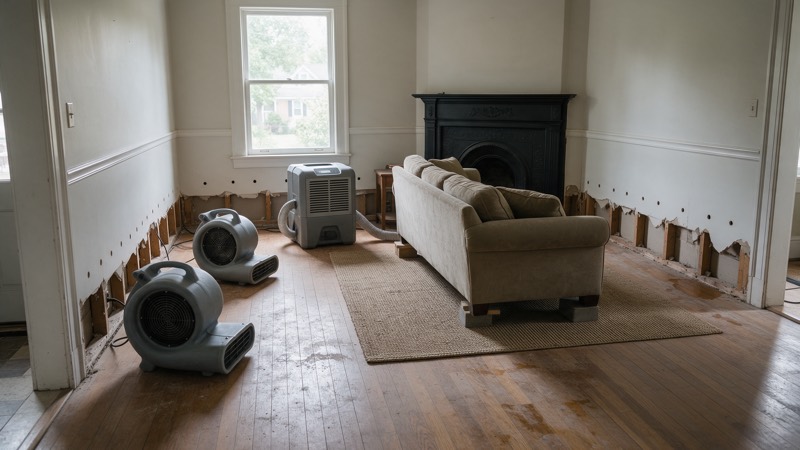
- Water has already reached carpet, pad, drywall, or insulation. Fixing the pump does not dry what already absorbed water.
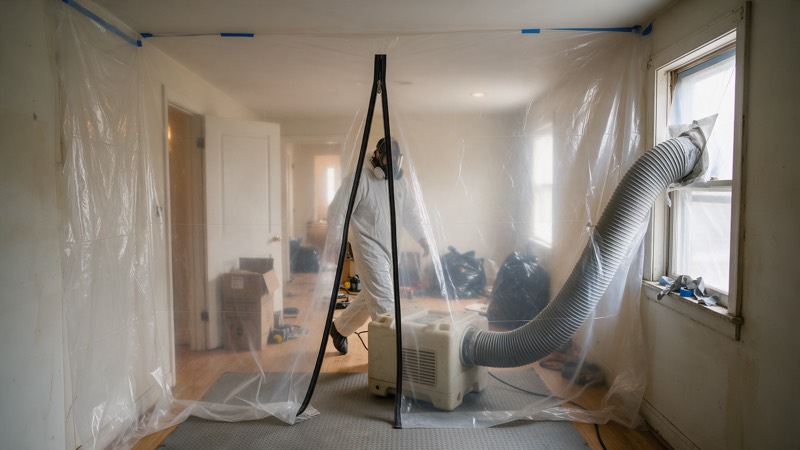
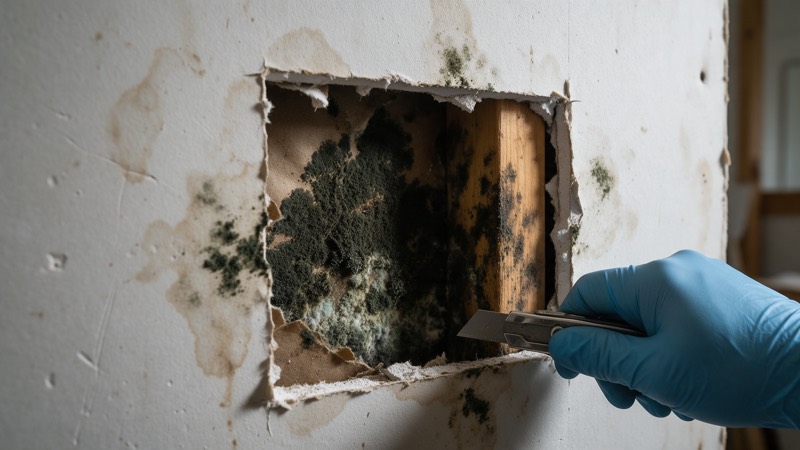
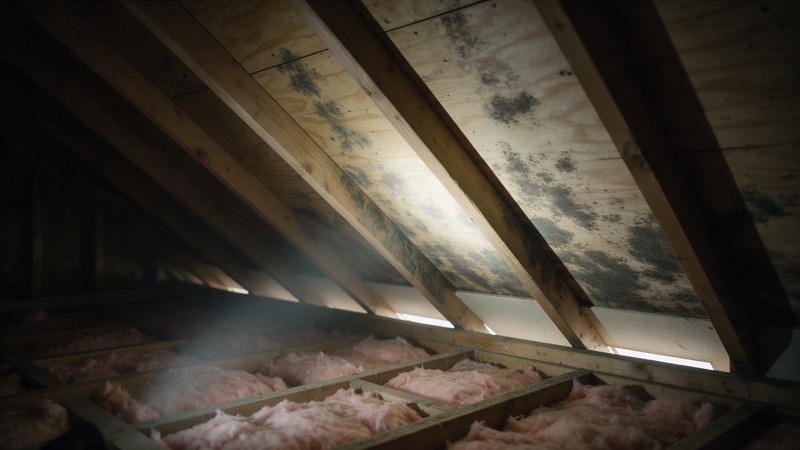
- There is visible mold or a musty smell covering more than about ten square feet, or anyone in the house is immunocompromised.
- The water in the pit smells of sewage. That is a different problem and a Category 3 cleanup.
If the basement is flooding now
Shut off power to the basement at the breaker before you step into any water. Do not reach into the pit. If you can do it safely, get the water out and pull up carpet pad the same day, because wet drywall and pad begin to colonize in roughly 24 to 48 hours. Photograph the water line before anyone cleans. Then call 202-798-7663; for active water we answer around the clock. For a non-emergency inspection, book through calendly.com/karmacgroup/30min. Our water damage page explains what happens next.
Put it on the calendar
The point of all this is timing. A sump pump test takes five minutes in October and saves the basement in a storm. Set two reminders a year for the cleaning, test with a bucket before any big forecast, and test again after any power outage, because a surge can kill a pump without anyone noticing.
Across older homes in Maryland, Northern Virginia, and DC, the pit and pump are often the oldest working parts of the house. If yours passes the test, add an alarm and leave it alone. If it fails, you now know before the water does, and that is the whole job.
Not sure which side of the line you are on?
The inspection is free and we will tell you honestly if it is a job you can do yourself.