Two Weekend Jobs That Keep Water Out of Your Basement for Good
Some basements genuinely need interior drainage, a new sump, or excavation down to the footing. We do that work, and we will not pretend it is never necessary. But when we trace the water in a damp DMV basement back to where it started, the trail very often ends at a clogged gutter, a downspout dumping beside the wall, or a strip of soil that settled and now tilts toward the house. Those are weekend jobs. Do them first, because they cost a few hundred dollars and they decide whether anything more expensive is needed at all.
Why the roof edge decides whether the basement stays dry
A roof collects an enormous amount of water in a single summer storm and concentrates all of it into a handful of downspouts. If those downspouts empty within a foot or two of the foundation, every one of them is a hose pointed at your basement wall. The soil next to a house is also the loosest soil on the lot, because it was dug out and backfilled when the house was built, so water soaks straight down it to the footing.
Clay makes it worse. Across Northern Virginia and much of Maryland, the native soil holds water rather than draining it, which means a saturated band forms against the wall and pushes moisture through block joints, the cold joint where wall meets slab, and any crack it can find. Fix where the water lands and that band never forms.
Do this test in the next rain
Put on a raincoat and walk the house during a steady rain. Watch every gutter and every downspout. You are looking for water sheeting over the front lip of a gutter, a seam dripping in a line, a downspout that gushes at the joints, and puddles that form against the foundation. Ten minutes of watching tells you more than any inspection on a dry day. Take photos; you will want them later.
Weekend one: get the gutters working
Gutters fail in three ways: they clog, they lose their pitch and hold standing water, or their seams and outlets leak. You can deal with all three from a ladder in a day for a typical two-story house, if you are comfortable on a ladder. If you are not, that is a perfectly good reason to hire this part out, and the price table below shows it is not expensive.
- Set the ladder up properlyExtension ladder on firm, level ground, at roughly a one-to-four angle (one foot out for every four feet up). Use a ladder stabilizer, sometimes called a standoff, so the ladder rests on the roof or wall instead of the gutter itself, which can crush. Never work from the top rungs, and have someone at the base.
- Scoop the debris outWear gloves; there are screws and sharp hanger edges in there. A plastic gutter scoop or a cut-down plastic jug works better than hands. Drop the muck onto a tarp rather than the lawn, because rotted leaves stain siding and walks.
- Flush and watch the flowRun a garden hose into the high end of each run. Water should travel steadily to the outlet without pooling. A puddle that sits in one stretch means the pitch has sagged there.
- Clear the downspoutsIf water backs up at the outlet, the downspout is blocked. Feed the hose up from the bottom first, then down from the top. A plumber's hand auger clears stubborn packed debris, usually at the elbows.
- Fix the pitch where it sagsA common guideline is about a quarter inch of fall for every ten feet of run toward the outlet. Where a section has sagged, loosen the hangers there, lift that stretch, and refasten. Replacing old spikes with hidden hangers and screws is cheap and holds far better.
- Seal leaking seams and outletsLet the gutter dry, scrub the seam clean with a wire brush, and run a bead of gutter sealant over the joint from the inside. A seam that has been leaking for years often has rot in the fascia board behind it; push on the wood. Soft fascia is a carpentry repair, not a sealant job.
Watch the power line
Look up before you raise an aluminum ladder. Service drops run to the corner of many DC rowhouses and older Maryland homes right where a downspout sits. Keep the ladder and any tools well clear of it, and if the gutter you need runs past the line, hire that section out.
Downspout extensions: the cheapest fix on this list
If you do only one thing from this article, do this. Most downspouts in the region end in a short elbow that dumps water a few inches from the wall, sometimes onto a splash block that has long since tipped over or sunk. The goal is to carry that water far enough away that it cannot run back to the foundation. Several feet is the minimum; farther is better wherever the yard allows it, and the outlet should land on ground that slopes away from the house.
You have three practical options, from easiest to most permanent:
- Hinged or flip-up extensions. Aluminum or vinyl sections that screw onto the elbow and fold up for mowing. Easy, cheap, and fine for most downspouts.
- Corrugated or solid pipe on the surface. Run it along a bed edge to a spot where the ground falls away. Solid pipe is smoother inside and clogs less than corrugated.
- Buried pipe to a pop-up emitter. Solid pipe in a shallow trench, sloped continuously downhill, ending in a pop-up cap that opens when water arrives. Neat and out of the way, but it needs a real slope and a clean-out, and it is the one DIY option that can quietly clog and back up against the house.
Wherever you discharge, keep it on your own property and away from a neighbor's foundation, sidewalks that ice up in winter, and the street gutter if your jurisdiction restricts that. Pointing your problem at the house next door is how a drainage fix becomes a property dispute.
Weekend two: regrade the soil against the foundation
The International Residential Code, which DC, Virginia, and Maryland all build their residential codes from, calls for the ground to fall away from the foundation, with at least six inches of drop within the first ten feet where the lot allows. Plenty of older houses never had that, and plenty that did have lost it as backfill settled over the decades. The result is a shallow trough right against the wall, which is exactly where you do not want water to collect.
Check it with a cheap method: drive a stake against the foundation and another ten feet out, tie a string between them, level it with a line level, then measure from the string down to the ground at each stake. If the ground at the house is not higher than the ground ten feet out, you have work to do.
- Call 811 firstBefore you dig, request a utility locate through Miss Utility. It is free, it is required before excavation in the region, and gas and electric lines are often shallower near the house than people assume.
- Pull back mulch and stoneRake mulch, gravel, and edging away from a strip about ten feet wide along the low section. Note where the siding or brick ends; you need to keep soil at least a few inches below siding and any wood framing, or you trade a basement problem for a rot and termite problem.
- Add soil, not mulch or sandUse a clay-rich fill or a topsoil blend that sheds water. Sand and mulch let water straight through to the wall. Build up the soil against the foundation and feather it out to meet existing grade ten feet away.
- Compact as you goSpread it in layers a few inches thick and tamp each one with a hand tamper. Loose fill will settle back into a trough by spring.
- Check the slope with your string againYou want the ground to drop steadily away from the house the whole way out, with no dip where water can sit.
- Top dress and replantFinish with a thin layer of topsoil and grass seed or a planting bed. Keep the mulch layer thin and pulled back a few inches from the siding.
Window wells count too
A basement window well that fills with leaves and soil is a funnel aimed at the window. Clean it out, make sure the gravel at the bottom drains, and consider a clear well cover. It is ten minutes and some of the worst basement leaks we see come in at a window, not through a wall.
What it costs: doing it yourself versus hiring it out
These are typical ranges for this region, compared side by side. The DIY column is mostly materials; your time and a borrowed ladder are the rest. The professional figures for drainage and grading correction match the ranges on our basement mold service page.
| Item | What you get | Typical cost |
|---|---|---|
| Gutter scoop, gloves, tarp | Everything you need to clean out the gutters by hand | $20–$35 |
| Ladder stabilizer | Keeps the ladder off the gutter; the one safety item worth buying | $35–$60 |
| Gutter sealant and hidden hangers | Seals seams and re-hangs a sagging run | $25–$50 |
| Downspout extensions, each | Hinged aluminum or vinyl, or a length of solid pipe | $10–$30 |
| Buried pipe and pop-up emitter, per downspout | Solid pipe, fittings, emitter, gravel | $40–$90 |
| Fill soil, per cubic yard delivered | A typical low section needs a few yards | $40–$70 |
| Hand tamper and line level | Compaction and slope checking | $30–$50 |
A full DIY pass on gutters, extensions, and one regraded side usually runs about $200–$450 in materials. Typical range for this market — not a quote. Every property is different, and the number that matters is the written scope you get after the free inspection.
| Situation | Doing it yourself | Hiring it out |
|---|---|---|
| Clean and flush gutters, two-story house | $20–$35 in tools, a morning | $150–$350 per visit |
| Downspout extensions on every downspout | $40–$150 for a typical house | $150–$400 installed |
| Regrade one side of the house | $150–$350 in soil and tools, a weekend | Part of a $3,000–$15,000 drainage and grading correction |
| Interior drainage, sump, or wall seepage | Not a DIY job | $3,000–$15,000, quoted after inspection |
| Sump pump replacement with battery backup | Not a DIY job for most homeowners | $900–$2,200 |
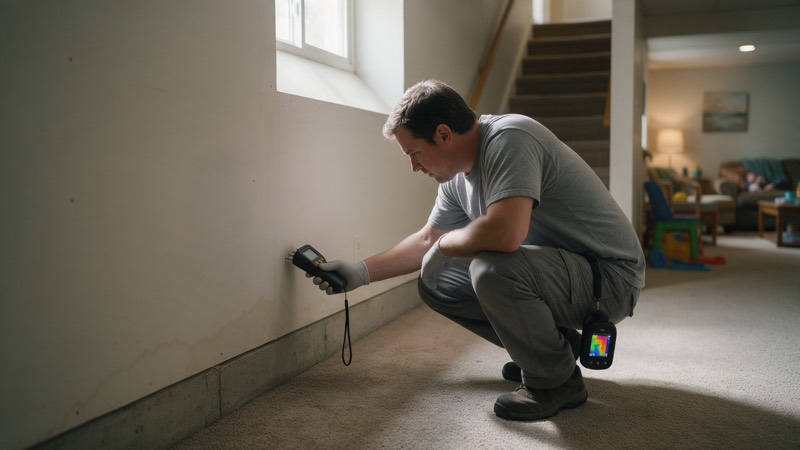
| Finding out where the water is coming from | A rainy day and a raincoat | Visual inspection free |
If the water keeps coming after the outside is fixed, that is the information you need before anyone quotes interior work. Typical range for this market — not a quote. Every property is different, and the number that matters is the written scope you get after the free inspection.
How to tell whether it worked
Give it a few good rains before you judge. Then check three things. First, the walls and floor at the spot that used to get wet: dry concrete is uniform in color, while damp patches show as darker areas or a white, crusty mineral bloom. Second, the humidity: a hygrometer in the basement should drop noticeably once the walls stop wicking water, and it should hold below 60% with a properly set dehumidifier. Third, the smell. A musty basement that stops smelling musty is the best evidence you have.
A simple trick for a specific damp spot: tape a square of clear plastic sheeting tightly to the wall and leave it for a couple of days. Moisture on the wall side of the plastic means water is coming through the wall. Moisture on the room side means it is condensation from humid indoor air, which is a dehumidifier problem rather than a drainage one.
Mistakes that undo the work
- Piling mulch high against the wall. Mulch holds water and wicks it toward the house. It is not grading.
- Burying siding or the sill plate. Keep soil several inches below siding and wood. Covering it invites rot and termites.
- Burying corrugated pipe with no slope. Water sits in the low spots, debris settles, and the line clogs where you cannot see it.
- Fixing the front and ignoring the back. Water finds the lowest wall. Walk the whole perimeter.
- Cleaning the gutters before the leaves are down. Fall leaf drop is when gutters fail in this region. Do the main cleaning after the trees are bare, not in September.
- Assuming dry means fixed after one storm. Wait for a long, soaking rain before you call it done.
Where you stop
The outside fixes stop the water that comes from the surface. They do not fix water that comes from below, and they cannot undo damage already done inside. Bring someone in when any of these are true:
- Water still comes in after a few heavy rains with gutters, extensions, and grade all corrected. That points to groundwater, a high water table, or a failed foundation drain.
- You see horizontal cracks in a block wall, a wall that bows inward, or cracks wider than a coin edge. That is a structural question.
- The sump runs constantly, cycles on and off rapidly, or failed during a storm.
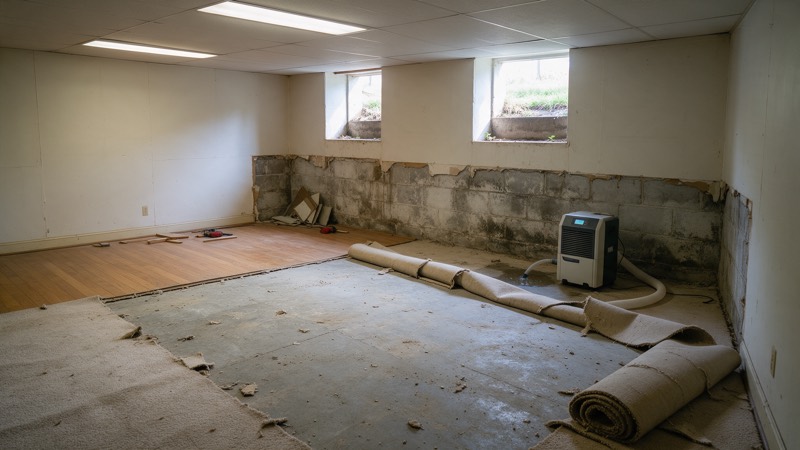
- The finish in the basement got wet: carpet, pad, paper-faced drywall, or insulation. Fixing the source does not dry what already absorbed it.
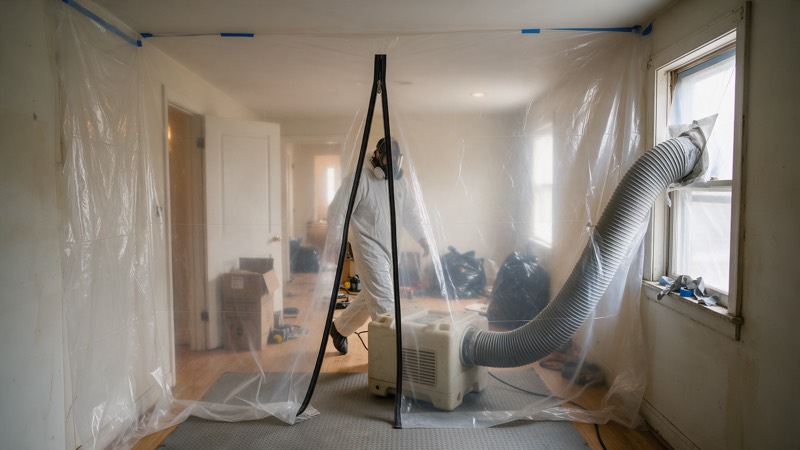
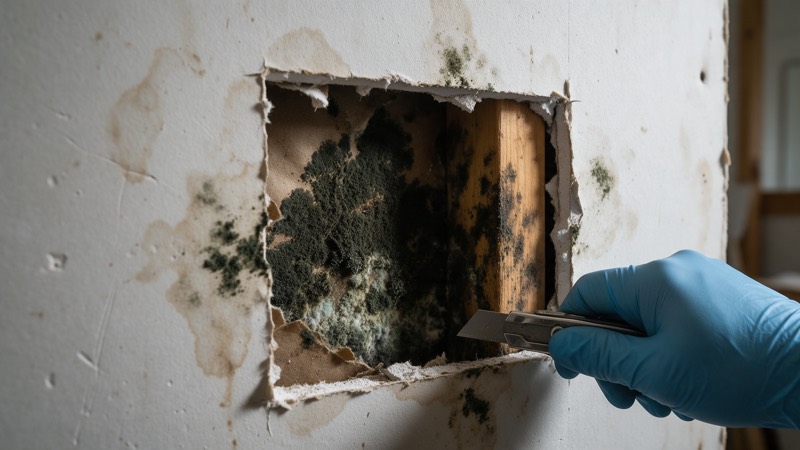
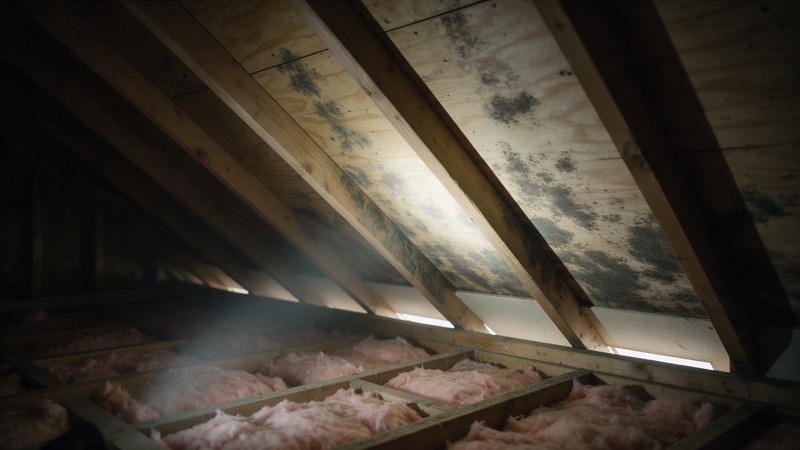
- There is visible mold or a musty smell covering more than about ten square feet, or behind a finished wall.
- The fix needs a retaining wall, a drain across a property line, or work on a slope steep enough that soil will not stay put.
If the basement is wet right now
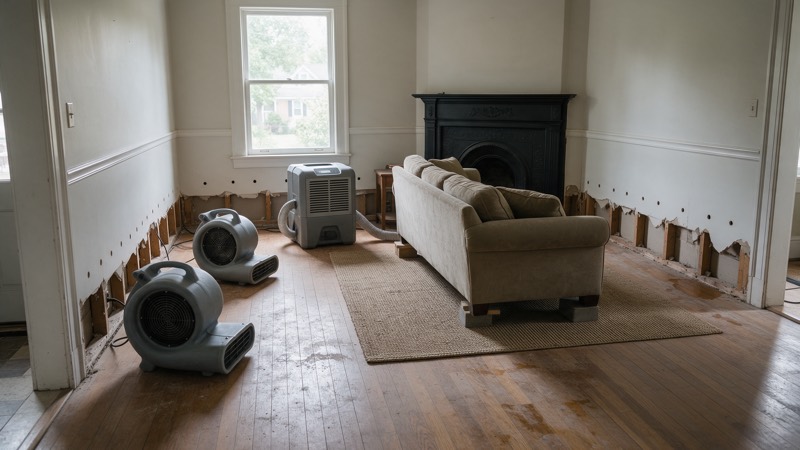
Shut off power to floor-level outlets before you step in, get the water out, and pull up carpet pad the same day. Wet drywall and pad start to colonize in roughly 24 to 48 hours, which is the difference between a drying bill and a remediation bill. Photograph the water line on the wall before anyone cleans. Then call 202-798-7663, or book a free inspection through the Calendly link on this site at calendly.com/karmacgroup/30min. Our water damage page covers what happens next.
The regional footnote
Everything above works anywhere, but three things make it matter more here. Our heavy summer thunderstorms dump a lot of water in a short time, which overwhelms a gutter that would cope with a slow drizzle. The mature tree canopy in neighborhoods across DC and the close-in suburbs fills gutters every fall. And the clay soil holds onto water against the foundation long after the rain stops.
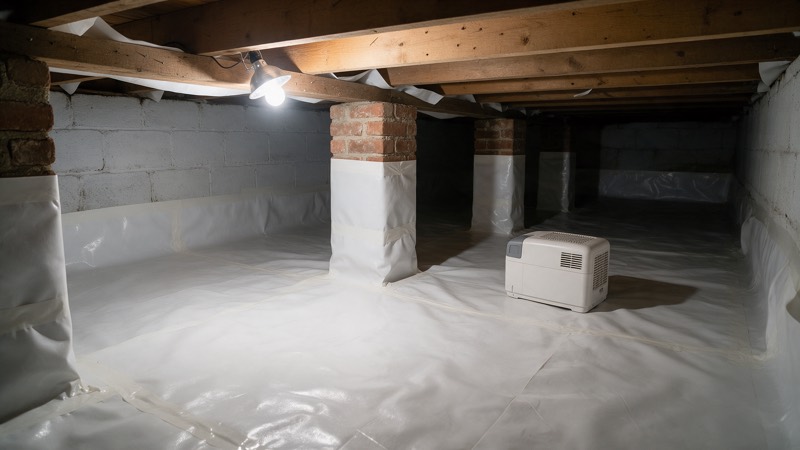
That combination is why the most common call we get in this region is a finished basement, and why the first question we ask is about the gutters. If you have done both weekends of work and the basement is still damp, the next step is finding out where the water actually comes from. A free visual inspection with moisture mapping answers that, and it is the right thing to do before anyone writes a scope for interior drainage. For damp below-grade space without a basement, the same logic applies to a crawl space.
Not sure which side of the line you are on?
The inspection is free and we will tell you honestly if it is a job you can do yourself.