Front-Loader Gasket Mold: Clean It Right and Stop It Coming Back
We get a few calls a month from people who have found black growth inside the rubber seal of their front-loading washer and want it looked at. We talk every one of them out of the visit. The door gasket is the most common place mold shows up in a modern house and the one that least needs a professional: it is a hard rubber surface, it is smaller than a dinner plate, and the water source is obvious. What people actually need is the method that works, the one filter they have never opened, and a reason to leave the door open.
Why the door seal grows mold in the first place
A front-loader seals the drum with a deep rubber bellows. That bellows has a fold at the bottom where water collects after every cycle and sits there, in the dark, behind a closed door, in a room that is already humid. Add what a wash leaves behind, which is detergent residue, fabric softener, lint, hair, and skin oils, and you have food, moisture, warmth, and no air movement. Mold does not need more than that.
High-efficiency machines make it worse. They use far less water, so residue is not flushed away, and most households run cold cycles, so the drum rarely gets hot enough to knock back what is growing in the seal. Your machine is not defective. The seal needs the same attention as the lint trap on your dryer: a little, regularly.
Check it in thirty seconds
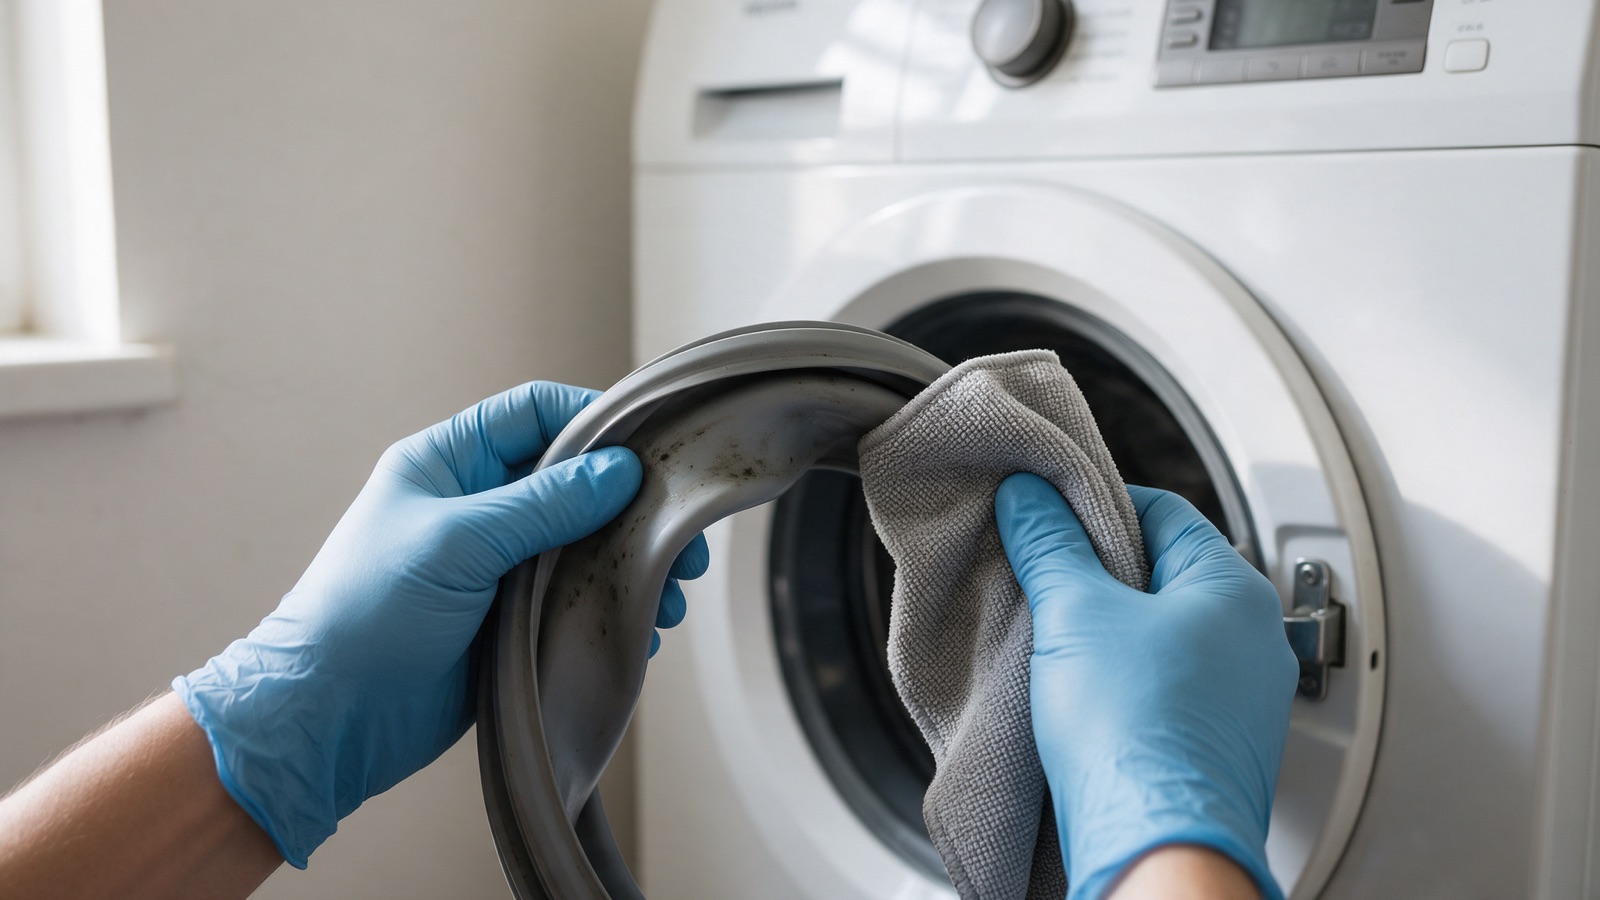
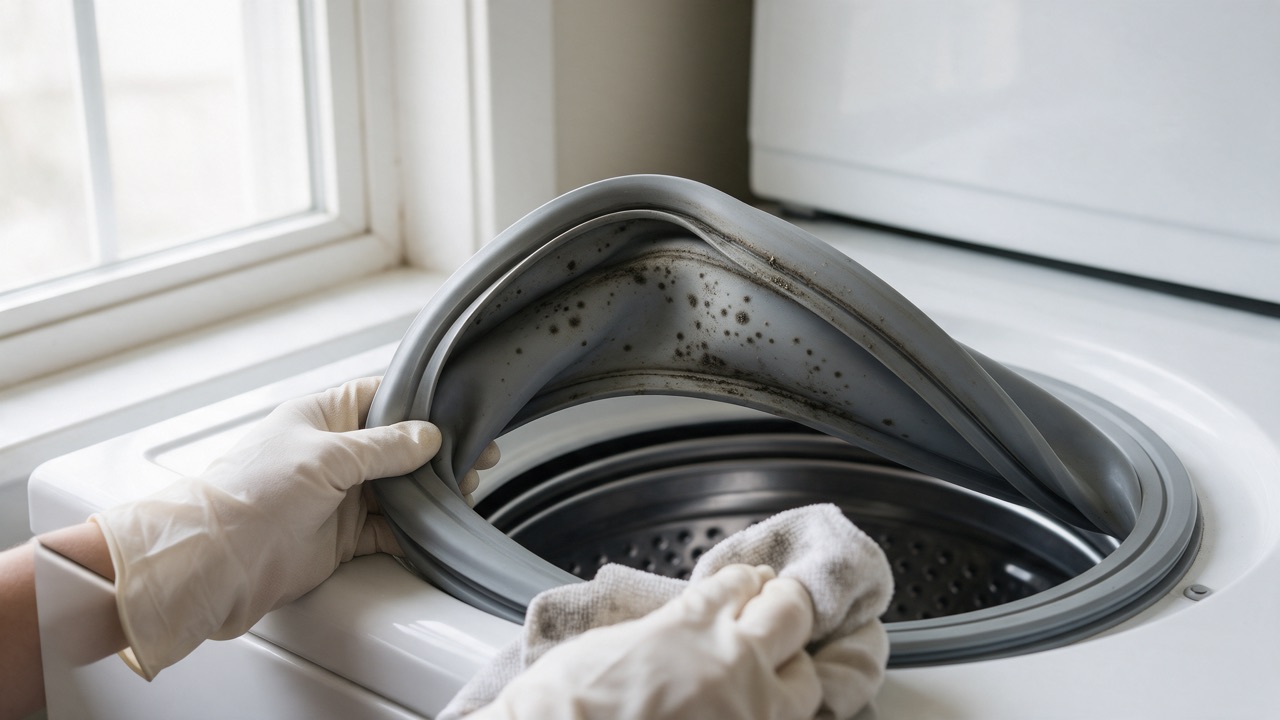
Open the door and hook two fingers under the inner lip of the grey rubber seal at the bottom of the opening. Pull it toward you. You will see one of three things: clean rubber, a film of grey slime with some debris, or a ring of black spots that look painted on. The slime is the early stage. The black spots are an established colony, and some of them may be stain rather than growth, which matters later.
While you are in there, feel along the fold for the small drain holes at the six o'clock position. Many machines have them, and they are meant to let trapped water back into the tub. If they are packed with lint, the fold holds water permanently, and no amount of cleaning will stay ahead of that. If the whole drum smells sour even when the seal looks clean, the problem is deeper in the machine, in the outer tub and drain path, and the hot-cycle step below is the fix rather than the scrubbing.
What you need, and what it costs
Nothing specialized. Most of this is already in the house. The figures are ordinary hardware or grocery store prices, so you can see that the whole job costs less than a service call before you start.
| Item | Why it is on the list | Typical cost |
|---|---|---|
| Nitrile gloves | You are handling wet lint, hair, and whatever has been breeding in a warm rubber fold. | $8–$12 a box |
| N95 respirator | Optional for a slimy seal, sensible for a heavy black ring, non-negotiable if anyone in the house has breathing trouble. | $2–$3 each |
| Dish detergent and warm water in a spray bottle | The actual cleaning agent. Detergent lifts the biofilm the mold grows in, and removing that is the job. | $3–$6 |
| Old toothbrush and a stiff nylon brush | The toothbrush gets into the fold and the drain holes. Bin it afterward. | $2–$5 |
| Microfiber cloths, three or four | One wet, one dry, one for the drum and glass. Wash them hot or throw them out. | $6–$10 |
| Washing machine cleaner tablets or plain chlorine bleach for the empty hot cycle | Either works. Tablets are easier to dose; bleach is already under the sink. | $6–$12 |
| Hygrometer for the laundry room | Tells you whether the room itself is the problem. More on this below. | $10–$15 |
Whole kit from scratch: roughly $35–$60, and you will own most of it afterward. Typical range for this market — not a quote. Every property is different, and the number that matters is the written scope you get after the free inspection.
The cleaning, step by step
Plan on forty minutes of hands-on work plus one hot cycle. Work with the laundry room door open and, if there is a window, the window open. Do not point a box fan at the machine; you want what you dislodge to stay in the drum, not travel around the room.
- Turn the machine off and empty itSwitch it off at the panel. Take out any laundry and check behind the seal for socks and small items; they are a common reason the fold holds water.
- Pull the fold open and clear the debrisWith gloves on, pull the inner lip of the gasket toward you all the way around. Pick out hair, lint, coins, and hair ties. Wipe the standing water and grey slime out with a dry cloth first so you are not pushing wet sludge around.
- Mist, wait, then scrubSpray the detergent solution into the fold and onto the visible spots. Give it two or three minutes to soften the biofilm, then work the fold with the toothbrush all the way around, including the top where splash lands. Never dry-scrub a heavy black ring; wet it first every time.
- Clear the drain holesPush the toothbrush bristles through each hole at the bottom of the fold until water drains freely. A wooden skewer clears a solid clog. This one step is why the cleaning holds.
- Wipe, rinse, wipe againA clean damp cloth, then a dry one. Wipe the inside of the door glass and the lip of the drum where the gasket meets it; residue there is what reseeds the seal.
- Clean the detergent drawerPull it fully out (most release with a tab in the softener compartment), scrub it in the sink with hot water and detergent, and wipe out the cavity it slides into, which is usually worse than the drawer.
- Run an empty hot cycleSelect the hottest, longest cycle, or the tub-clean cycle if your machine has one. Add a washing machine cleaner tablet or chlorine bleach per the label. This treats the outer tub and drain path, where any remaining musty smell lives.
- Dry the seal and leave the door openWhen the cycle finishes, pull the fold open once more and towel it dry. Then leave the door ajar overnight. From now on, that is how the door lives between loads.
One chemical at a time
Never combine chlorine bleach with vinegar, ammonia, or any other cleaner, in the drum or in the fold. The combination releases a gas that is dangerous in a small laundry room. If you use bleach for the empty cycle, run a plain rinse before using anything else, and skip bleach on the gasket itself: it dries out the rubber over time and does not remove the biofilm any better than detergent does.
The drain pump filter nobody opens
Behind the small panel at the bottom front of almost every front-loader is a coin trap and drain pump filter. It catches what the gasket does not, and it holds water. If a sour smell survived the gasket cleaning, this is usually why.
- Find the hatch and check the manualIt is a low rectangular panel, often with a small drain hose coiled behind it. Your manual, or a search for your model number plus "drain pump filter", shows the release.
- Towels down, pan readyThere can be a quart or more of water behind the filter. If there is a drain hose, pull its plug into a shallow pan first and let it empty.
- Unscrew slowly, clean, reinstallTurn the filter counterclockwise a little at a time so water releases into the pan. Rinse it under hot water, brush the mesh, wipe the sludge out of the housing, and check the pump impeller turns freely with a finger. Screw it back in firmly and run a short rinse while watching for drips.
Do this twice a year. In a house with pets or long hair, every three months is not excessive.
Clean but still black: stain versus growth
After a proper cleaning, some seals still show a ring of grey or black marks. Press a white cloth against them. If nothing transfers and the surface is smooth and dry, you are looking at stain: pigment the mold left behind in the rubber. It is cosmetic, it is not growing, and no cleaner you can safely use on rubber will remove it. Plenty of people replace a perfectly good gasket over stain they could have lived with.
If the marks are raised, fuzzy, or slimy, that is still growth and it needs another pass with the brush. If the rubber is cracked, torn, or stiff and no longer seals, the gasket is at the end of its life. On many machines a replacement is a one-to-two-hour owner job with a screwdriver and a video for your model; on others it is worth paying an appliance technician.
Photograph it before and after
A phone picture of the fold before you start and another after the hot cycle gives you a baseline. In a month, compare. Spots back in the same places mean the drain holes are blocked again or the door is being closed between loads. Clean rubber means you can stop worrying about it.
The habits that stop it coming back
The cleaning is the reset. These keep you from repeating it every six weeks, and none of them cost anything.
- Leave the door ajar between loads. This is the whole prevention plan in one sentence. A dry seal grows nothing. If children or pets make an open door a problem, a magnetic door prop holds it an inch open.
- Wipe the fold after the last load of the day. Ten seconds with the cloth that lives on top of the machine.
- Take wet laundry out promptly. A load left overnight is a humid, closed, warm drum, which is exactly what the mold wanted.
- Use less detergent than you think. High-efficiency machines need a small dose of HE detergent. If the drum is foamy at the end of a cycle, you are using too much, and the leftover film is what the colony feeds on.
- Go easy on liquid fabric softener. It is waxy, it coats the seal and the drum, and it is the stickiest residue in the machine. Dryer balls or a splash of white vinegar in the rinse (never in the same cycle as bleach) do the job.
- Run an empty hot cycle monthly and open the drain filter twice a year. Put both on the calendar next to the dryer vent check.
Is it the machine or the room?
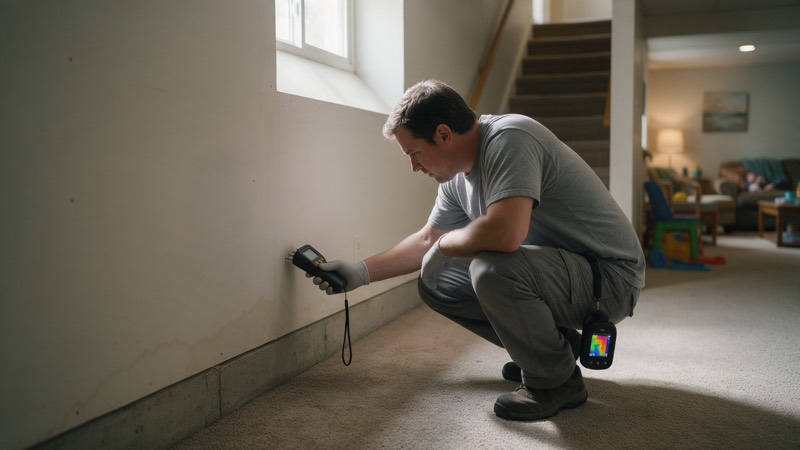
If you keep the door open, run the monthly cycle, and the seal still fogs up with growth, look up from the machine. In the Mid-Atlantic the laundry is often in a basement or an unvented closet, and summer humidity in those spaces sits well above the level where mold establishes on any surface, rubber included. A hygrometer on the shelf above the washer settles it. Readings that stay above sixty percent mean the room is doing the work for the mold, and a dehumidifier or better venting for the space is the fix rather than a cleaner.
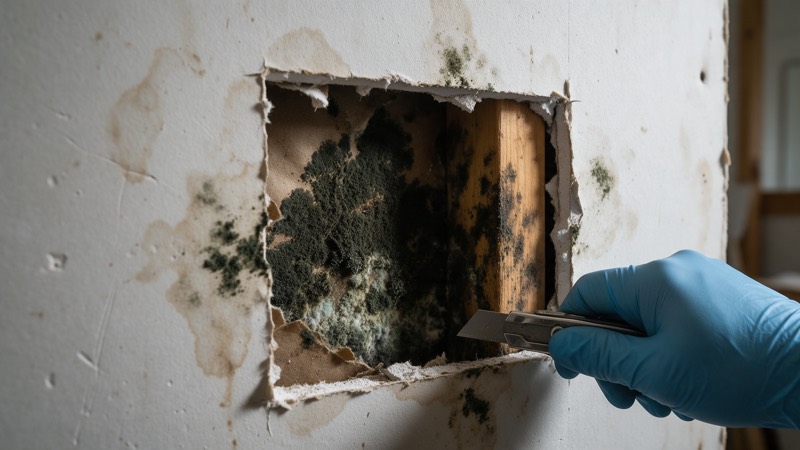
Two more checks while you are there. Make sure the dryer exhaust goes outside and is not leaking warm, wet air into the room through a loose joint or a crushed flex duct. Then look behind and under the washer with a flashlight. A slow drip from a supply hose or a weeping standpipe leaves the floor and the bottom of the wall damp for months. Mold on the drywall behind a washer in a DC or Maryland basement is something we actually are called for, and it started as a laundry problem nobody looked behind. If the space smells musty even when the washer is clean and dry, that is a basement question, and it starts with finding where the water is coming in.
What it costs: doing it yourself versus hiring it out
The gap here is enormous because this is maintenance, not remediation. The professional figures are what an appliance technician charges for the parts that can be hired out, and what a remediation company charges once the problem has left the machine and reached the building. The second group is where the money goes, which is the argument for forty minutes with a toothbrush.
| Situation | Doing it yourself | Hiring it out |
|---|---|---|
| Routine gasket, drawer, and drain filter cleaning | $35–$60 in supplies, 40 minutes | Appliance service call $100–$200, and most technicians will tell you to do it yourself |
| Door gasket that is torn, cracked, or no longer seals | $40–$150 for the part, one to two hours on most models | $200–$450 installed by an appliance technician |
| Persistent musty laundry room, no visible leak | $10–$15 hygrometer, then $200–$350 for a dehumidifier if it reads high | Free visual inspection; air sampling $350–$600 if you need a lab answer |
| Mold on the wall or floor behind the machine, under ten square feet | Hard surface: clean it. Drywall: not a DIY job | $600–$1,500 contained removal |
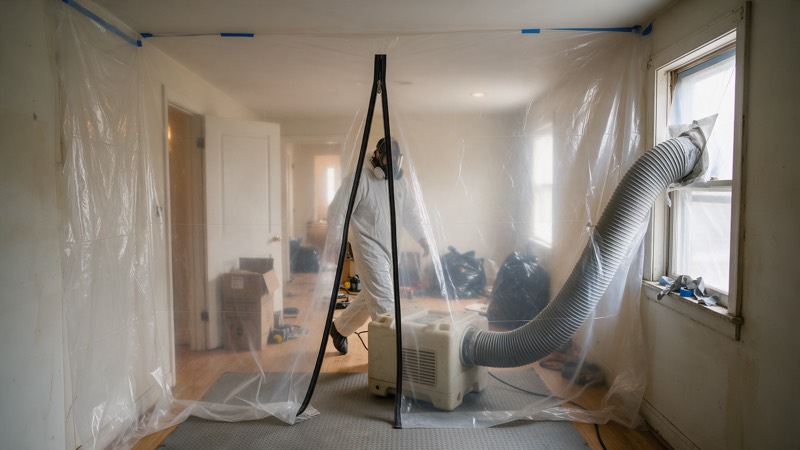
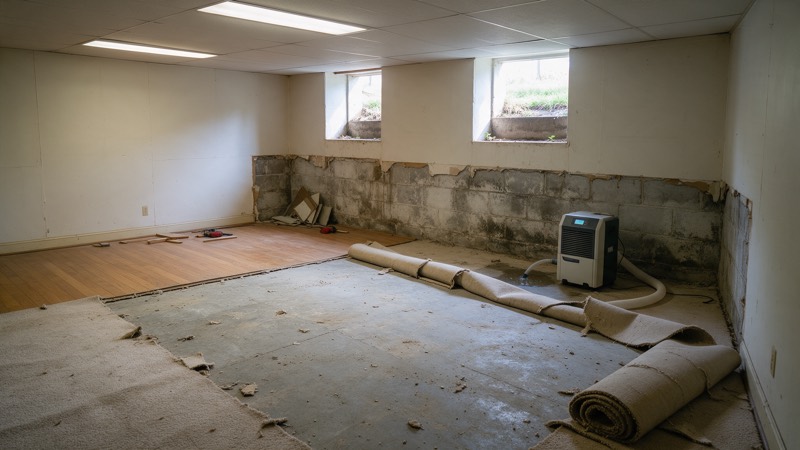
| Washer leak that soaked drywall, subfloor, or the room below | Shut the water off and photograph everything; the drying is not a DIY job | $500–$1,500 emergency extraction and setup; $1,500–$4,000 for a complete single-room water loss |
If your situation is in the bottom two rows, call before you clean anything, because the photographs are your insurance claim. Typical range for this market — not a quote. Every property is different, and the number that matters is the written scope you get after the free inspection.
Where you stop
The gasket itself never needs a professional. What can need one is what the gasket was hiding. Stop and make the call when any of these are true:
- The floor, baseboard, or drywall behind or beside the washer is soft, stained, or has visible growth.
- The machine has leaked and water has been standing for more than a day, or has gone through to the floor below.
- The drain or standpipe has backed up into the room. Drain water is not clean water, and anything porous it touched comes out rather than gets cleaned.
- The smell is strongest when the HVAC runs rather than when the washer door opens, which points at the duct system, not the appliance.
- Someone in the household has a compromised immune system or asthma and the growth is heavy. Have someone else do the cleaning, or have us look; the visual inspection is free and we will say so if it is a toothbrush job.
If the washer is leaking right now, stop reading
Turn off both supply valves behind the machine, unplug it, and photograph the floor, the wall, and the water line on the baseboard before you move anything or mop. Wet drywall and subfloor begin to colonize within a day or two; inside that window it is a drying bill and after it, a remediation bill. Call 202-798-7663. The gasket can wait until the room is dry.
Not sure which side of the line you are on?
The inspection is free and we will tell you honestly if it is a job you can do yourself.