How to Photograph Water Damage So Your Insurer Actually Pays
Nobody wants to spend the first hour of a water loss taking pictures. The instinct is to mop, haul, and run fans, and that instinct is mostly right. But the photos you take before you do any of it are the single most useful thing you will hand your insurance company, and they cost nothing. Here is how to take them properly, in about forty minutes, with the phone already in your pocket.
Why the photos decide the claim
An adjuster is trying to answer two questions: what happened, and when. Most homeowner policies cover mold that follows a sudden event, such as a burst pipe, a failed supply line, or a storm-driven roof leak. They generally do not cover damage from a slow leak that went on unattended. The difference between those two stories is often told entirely by photographs and a written timeline.
The trouble is that the evidence is perishable. Wet drywall gets cut out, carpet pad goes to the curb, and the water line on the wall is wiped away. Once it is gone, you are asking the carrier to take your word for it. Most will not.
Safety before documentation
Documentation matters, but it never comes before safety. Shut off the water at the source or the main. Kill power to the affected area at the breaker, not the wall switch in the wet room. Do not wade into standing water near live outlets at floor level.
Do not photograph from a spot you should not be standing in
If the ceiling is sagging, the floor is soft, or there is water near outlets or the panel, stay out and shoot from the doorway with the zoom. A claim photo is never worth an injury.
The photo routine: wide, medium, close
Insurers see a lot of photos that show a stain and nothing else. What makes a set useful is that it lets a stranger who has never been to your house understand the room. Use the same three-step pattern for every affected space.
- Start with the sourcePhotograph the burst pipe, failed hose, leaking fixture, or damaged roof area before it is repaired. If a plumber replaces the part, ask them to hand you the old one and photograph it too. Keep it in a bag.
- Shoot a wide shot from each cornerStand in each corner of the room and capture the whole space. This establishes where everything is, what was in the room, and how far the water reached.
- Move in for medium shotsPhotograph each wall, the ceiling, and the floor section by section. Overlap the frames by about a third so nothing is ambiguous about where one picture ends.
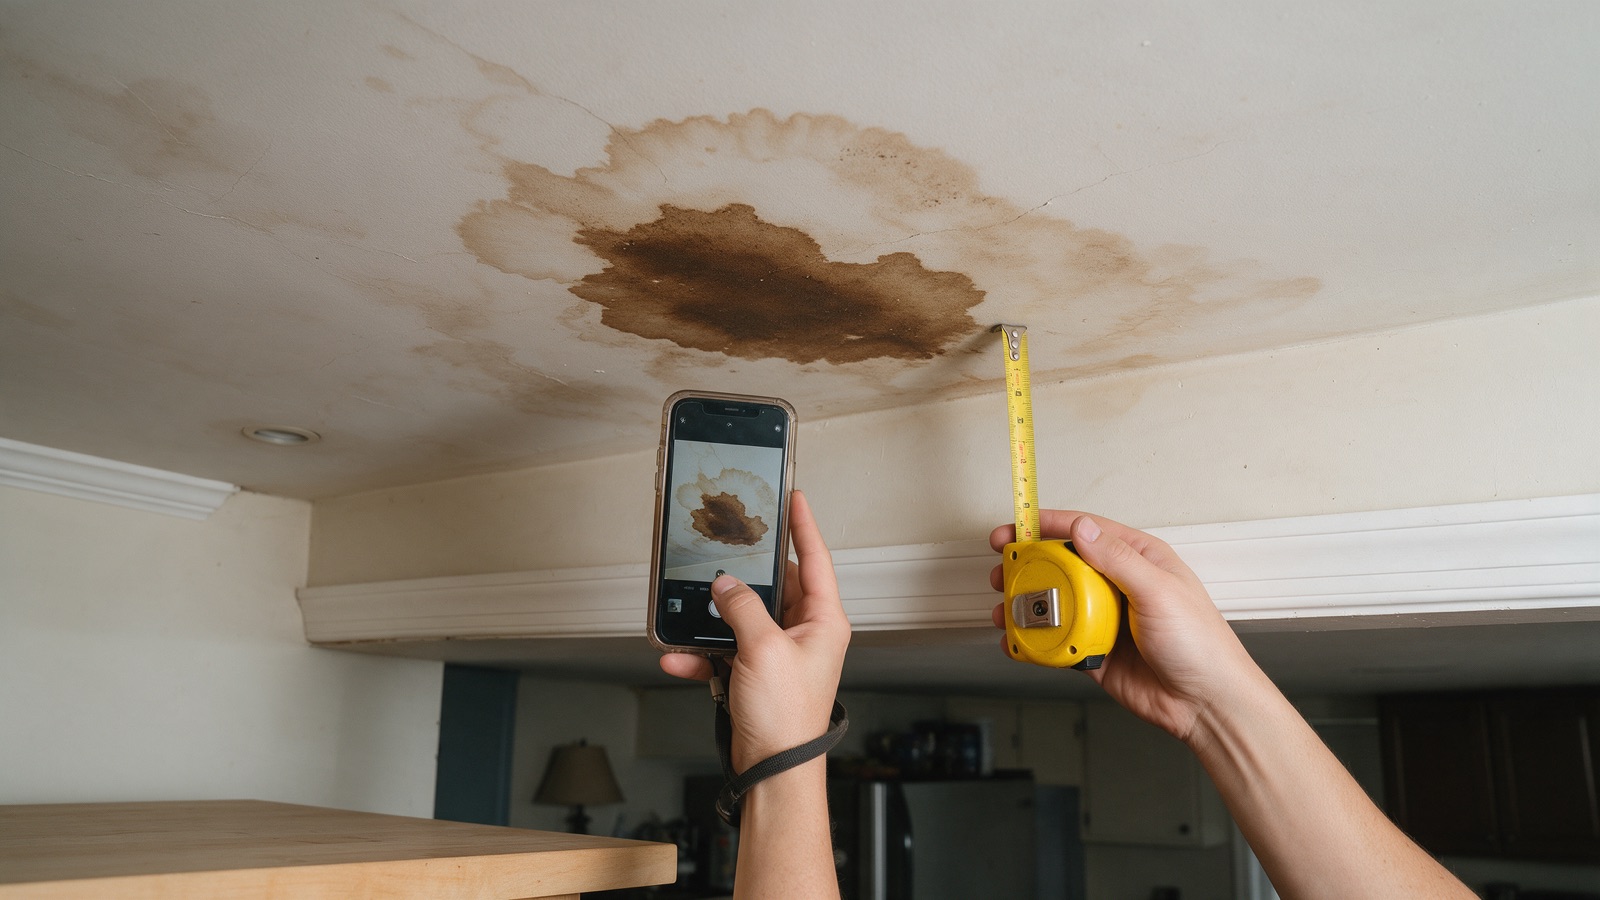
- Take close-ups with scaleHold a tape measure or a coin against stains, bubbling paint, warped trim, and any visible growth. A close-up with no scale reference tells an adjuster very little.
- Capture the water linePhotograph the tide mark on the wall at its highest point, with a tape measure showing the height off the floor. This disappears the moment cleaning starts.
- Record a slow video walkthroughWalk the whole affected area narrating what you see, the date, and the time. Thirty seconds of narrated video catches things stills miss.
- Photograph the contentsFurniture, electronics, rugs, boxes. Shoot each damaged item, then the label or serial number if there is one.
What a good photo set looks like
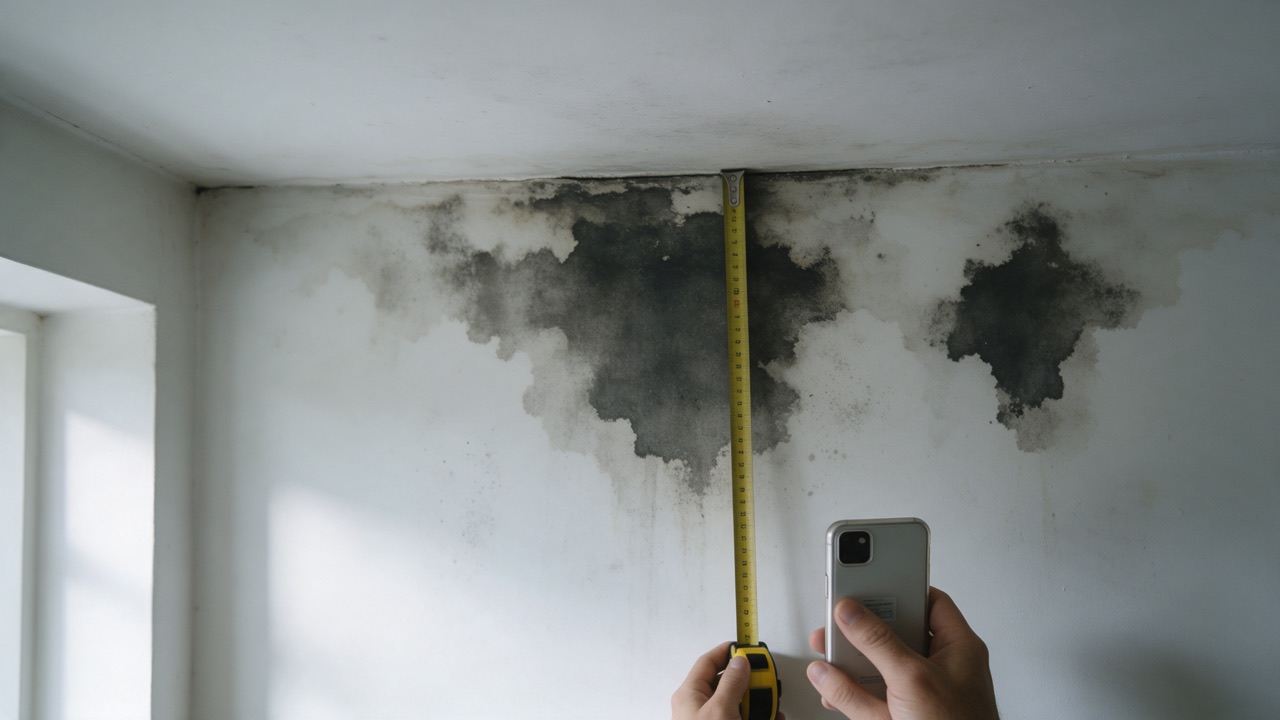
Aim for thirty to sixty photos for a single room. That sounds like a lot, but storage is free and an adjuster will never complain that you sent too many. Turn on the date and time stamp if your camera app offers it, and leave location data on, because the metadata supports the timeline.
Do not edit, crop, filter, or retouch anything. Keep the originals exactly as the phone saved them. Back them up to a cloud folder the same day, since a phone that has been near a flood can fail.
Write the timeline while it is fresh
Photos show what. A short written log shows when and how, and carriers decide coverage on whether the event was sudden. Open a notes file and write down the following while your memory is sharp.
- The date and time you first noticed the problem, and what tipped you off.
- The date and time the water was shut off.
- What you believe caused it, stated plainly as your best understanding rather than as a certainty.
- Everything that got wet, room by room.
- Every step you took to limit the damage, and when you took it.
- Names, dates, and phone numbers for anyone who helped: a plumber, a neighbor, a restoration crew.
Be factual and plain. Do not speculate about how long the leak ran before you found it, and never guess at a date you are not sure of. If you do not know, write that you do not know.
Mitigate, but keep the evidence
Your policy almost certainly requires you to take reasonable steps to prevent further damage. That means you are expected to dry things out, not leave them soaking while you wait for an adjuster. Reasonable mitigation is normally reimbursable, and failing to do it can reduce a claim.
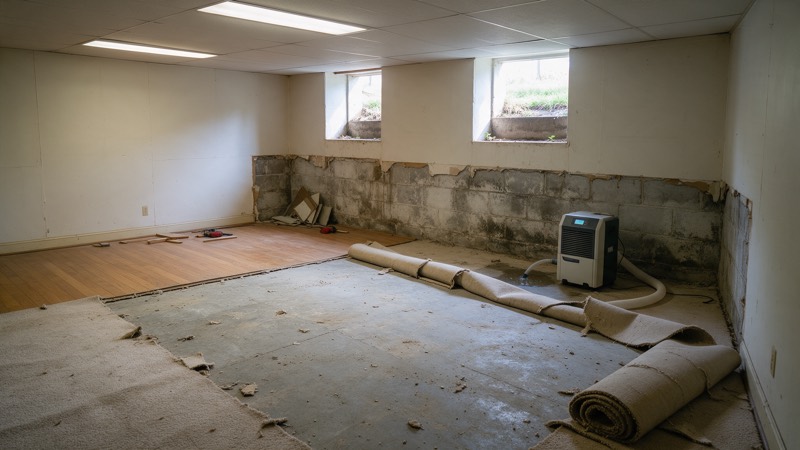
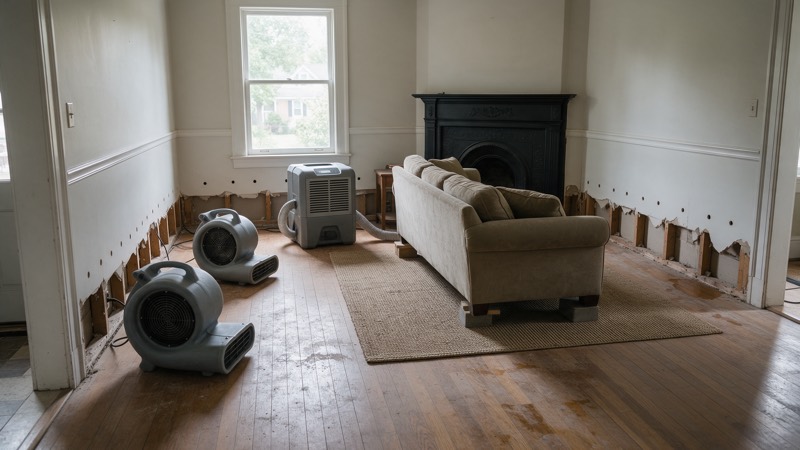
The solution is to document first, then mitigate, and to keep samples. Cut out a small piece of wet drywall or carpet pad, bag it, and label it with the date and room before the rest goes to the dumpster. Photograph the debris pile before it leaves. If a professional is extracting water, our water damage restoration work is built around daily moisture readings, which are exactly the records a carrier wants to see.
Call the carrier early, not last
Open the claim before major work starts and get a claim number. Work performed before a claim is opened is much harder to get reimbursed. Ask what your policy requires for mold specifically, because many cap it at a sublimit.
Where mold changes the picture
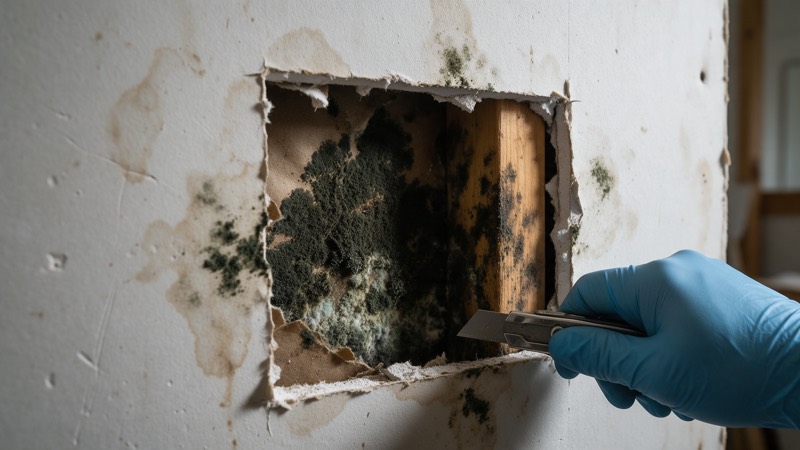
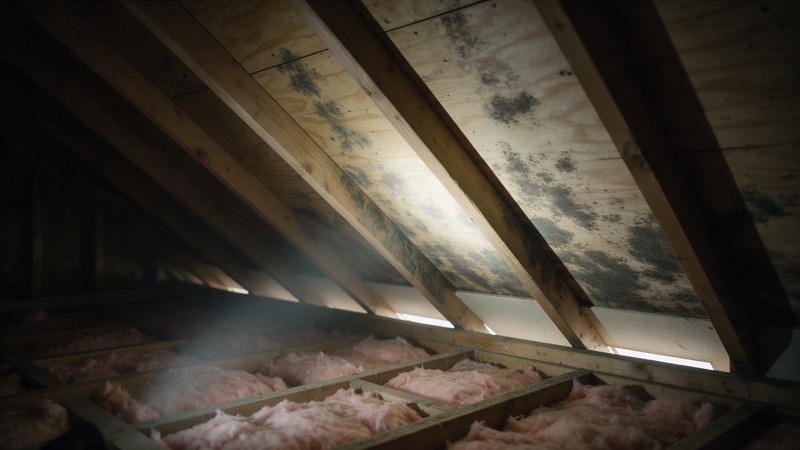
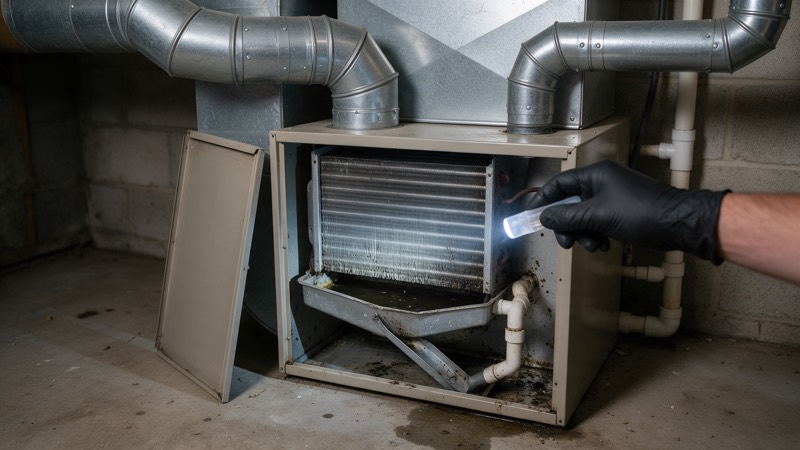
If growth has already appeared, the documentation gets slightly different. Photograph it exactly as you found it, with scale, and do not scrub it first. Disturbing a colony spreads spores and also destroys your evidence. Note whether the room shares a return vent with the HVAC system, and whether anyone has noticed the smell getting stronger when the system runs.
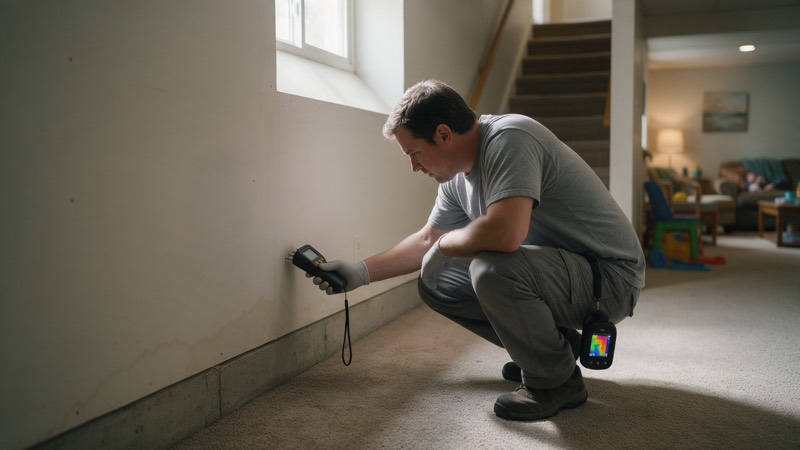
A written assessment from an independent party carries weight with a carrier, a lender, a buyer, or a landlord. That is the point of a mold inspection: it records what you have, how far it reached, and where the water came from, in a document someone else will accept. For a finished lower level, see how the work breaks down in our basement mold removal guide.
What it costs: doing it yourself versus hiring it out
Documenting a loss is one of the cheapest jobs in this whole field, and nearly all of it is yours to do. What you pay for professionally is the part you cannot do yourself: moisture mapping, thermal imaging, and an assessment a third party will accept. The supply list below is ordinary hardware store and drugstore stuff.
| Item or situation | Doing it yourself | Typical cost |
|---|---|---|
| Phone camera, tape measure, notebook | Most households already own them | $0–$15 |
| Contractor bags and marker | For labeled samples and debris | $10–$14 |
| Cloud storage for the photos | A free tier is usually enough | $0–$3/month |
| Basic moisture meter | Optional, gives you readings to log | $25–$50 |
The whole DIY documentation kit usually runs well under $100, and most of it you already have. Typical range for this market — not a quote. Every property is different, and the number that matters is the written scope you get after the free inspection.
| Situation | Doing it yourself | Hiring it out |
|---|---|---|
| Photographing and logging a loss | A phone and forty minutes | Visual inspection with moisture mapping is free |
| Knowing whether mold has spread behind a wall | Cannot be seen from outside | Air sampling $350–$600 |
| A report an insurer, lender, or buyer will accept | Not something you can write yourself | Full written assessment $500–$1,200 |
| Emergency extraction and drying setup | Not a DIY job beyond a small clean spill | $500–$1,500 to start, then $200–$600 per day of drying |
| Confirming the work actually worked | Not independent if you do it yourself | Clearance testing $450–$800 |
Professional figures are typical ranges for this market. A written scope after the free inspection is the number that counts. Typical range for this market — not a quote. Every property is different, and the number that matters is the written scope you get after the free inspection.
What to keep, and for how long
Keep everything. That includes the photos and video, your timeline notes, the claim number, every email and letter from the carrier, receipts for emergency repairs and supplies, and the physical samples and failed parts. Store the digital files in two places.
Hold onto it until the claim is fully settled and the repair is complete and verified. If a lender, buyer, or landlord is involved, keep the records well beyond that, since disputes sometimes surface long after the repair is done.
Where you stop and call someone
Everything above is yours to do. These are the situations where the DIY version stops being the right one.
Stop and call when the water or the growth is bigger than a phone can handle
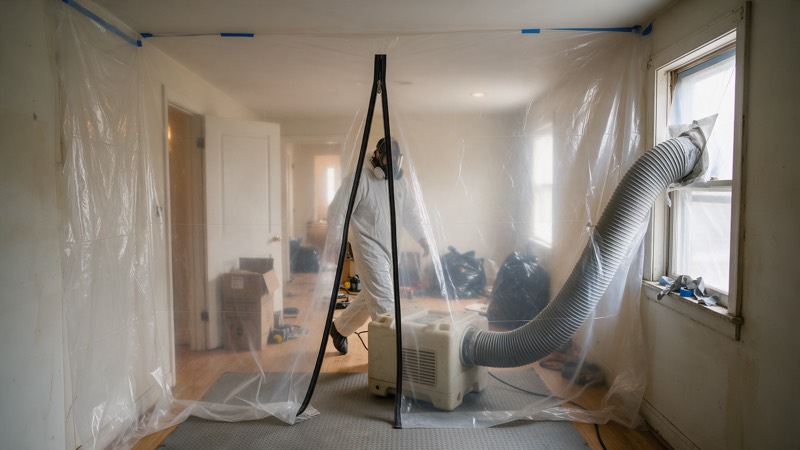
Call 202-798-7663 if the water was sewage or floodwater, if wet material has sat for more than a day or two, if growth covers more than about ten square feet, if the HVAC has been running through the affected space, or if anyone in the house is immunocompromised, pregnant, or has asthma. Document what you safely can from the doorway, then let someone with containment and equipment handle the rest. Questions about symptoms belong with a doctor, not a contractor.
You can also book a free inspection through the Calendly link on our site. We will map the moisture, tell you what we find, and give you a written scope you can hand straight to your carrier.
Not sure which side of the line you are on?
The inspection is free and we will tell you honestly if it is a job you can do yourself.