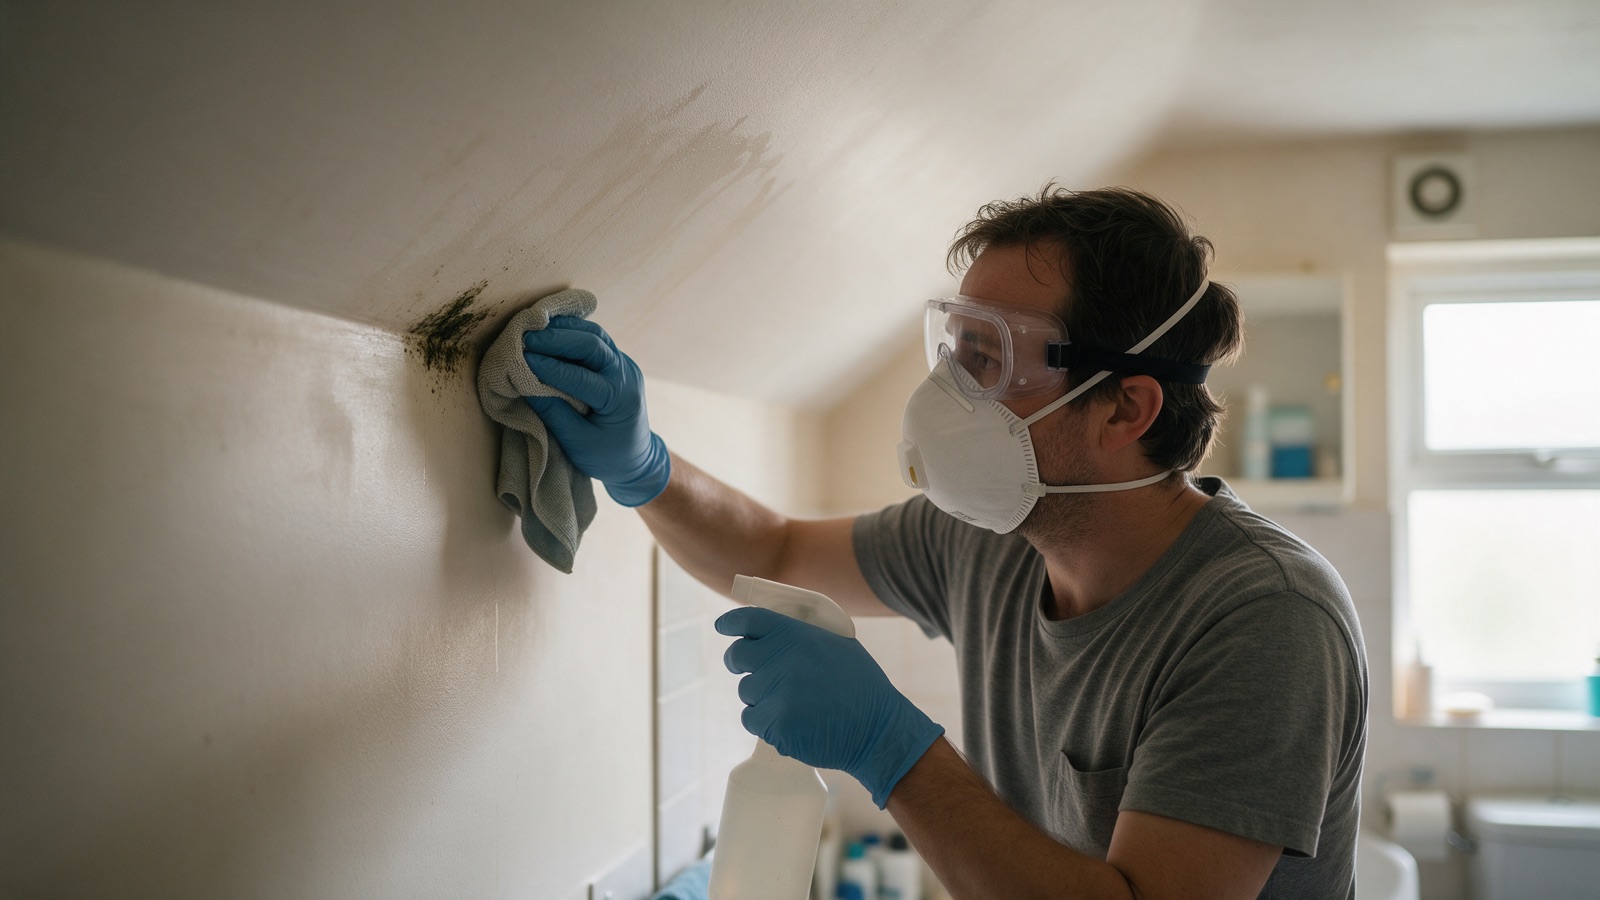
The DIY Mold Playbook: What You Can Safely Clean Yourself — And The Exact Line Where You Stop
We are a mold remediation company, so you would expect this article to tell you that every spot of mold needs a professional. It does not. Most of what we get called about in DC, Northern Virginia, and Maryland is genuinely a homeowner job — sixty dollars of supplies and a Saturday. What matters is knowing which problems those are, because the same afternoon spent on the wrong one is how a forty-dollar cleanup becomes a six-thousand-dollar remediation.
Start with the ten square foot rule
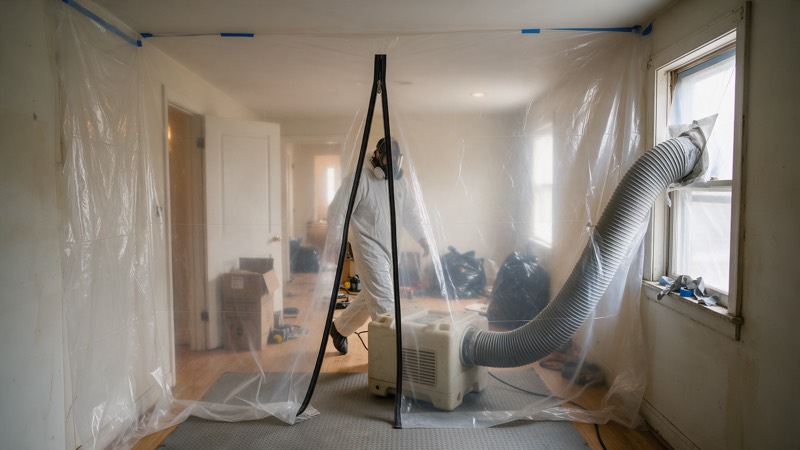
The EPA's guidance for homeowners draws the line at roughly ten square feet — about a three-by-three-foot patch. Under that, on a hard surface, with the water source fixed, you can clean it yourself. Over it, you want containment and negative air, because the act of cleaning aerosolizes spores and spreads a contained problem through the rest of the house.
In the District that is not just guidance. DC writes the same ten-square-foot threshold into law: beyond it, remediation has to be performed by a professional licensed by the Department of Energy and Environment. Virginia and Maryland do not license mold work specifically, so there the ten feet is a safety judgment rather than a legal one — but the physics do not care which side of the river you are on.
How to measure it honestly
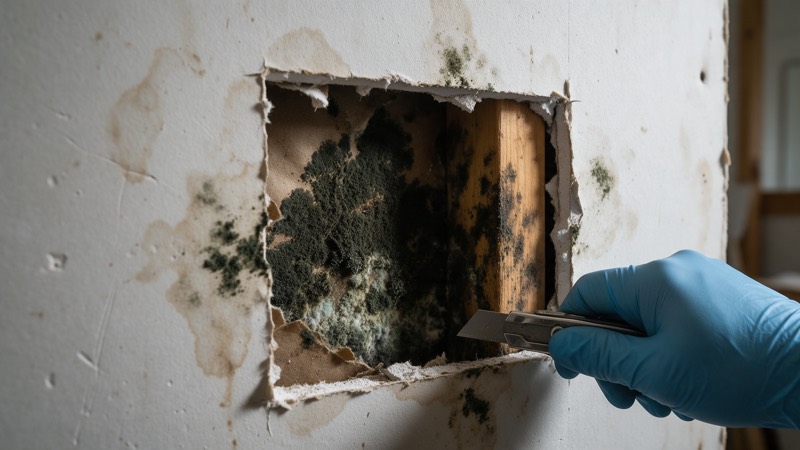
Measure what is affected, not what is visible. Growth on the face of drywall usually means the paper backing behind it has more. If you can see a one-foot patch and the wall sounds hollow or feels soft eighteen inches around it, you are not looking at one square foot.
Four questions before you touch anything
Run these in order. A yes to any one of them means stop and get it looked at — not because we want the call, but because the DIY version of these makes them worse and more expensive.
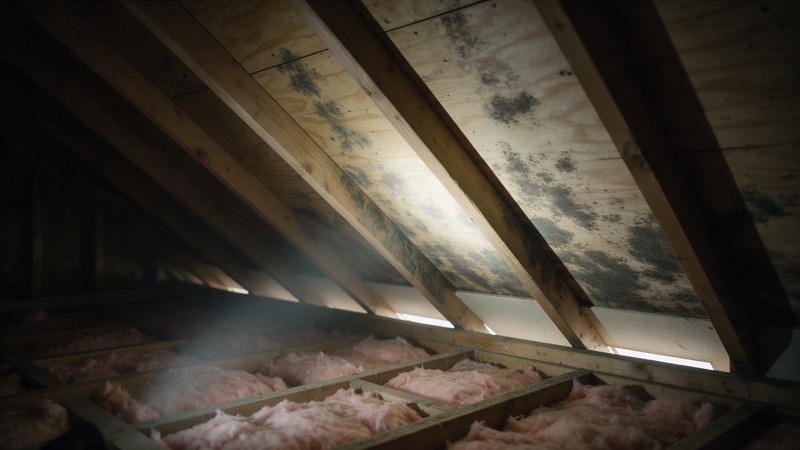
- Is it on something porous and soft?Hard, non-porous surfaces — tile, glass, sealed countertop, finished wood, metal, grout — clean up. Drywall, insulation, carpet pad, ceiling tile, and particleboard are colonized through, not on. Wiping the face of them accomplishes nothing and releases spores.
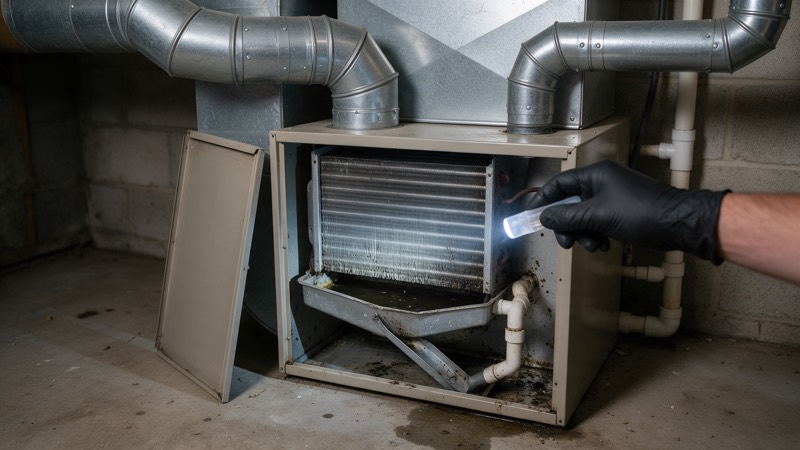
- Has the HVAC been running?If the musty smell gets stronger a few minutes after the system kicks on, or there is a return vent in the affected room, the system has been distributing spores building-wide. That is a duct and air-handler problem, not a wipe-down.
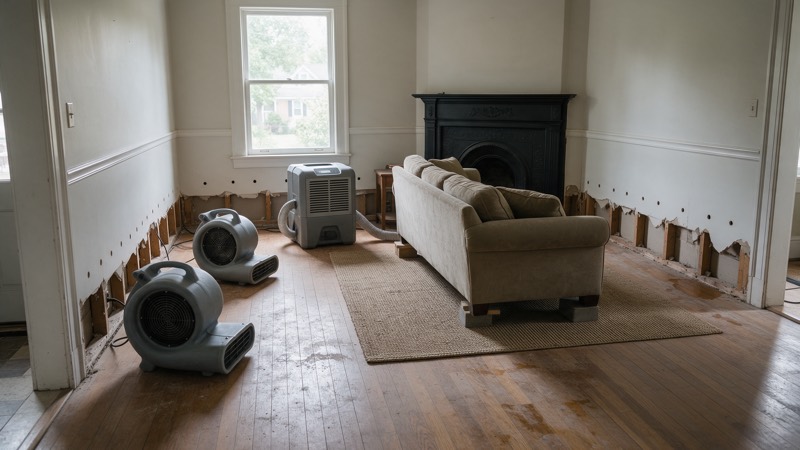
- Was the water category 3?Sewage backup, a toilet overflow past the trap, or floodwater from outside carries bacteria along with the mold risk. Porous material that touched it comes out — there is no cleaning it back to safe.
- Is anyone in the house immunocompromised, pregnant, asthmatic, or an infant?Then it is not worth the exposure of doing it yourself, even for a small patch. Have someone else handle it, or step out of the house for the day while they do.
The kit, and what it actually costs
You do not need anything exotic. This is what we would want a homeowner to have in hand before starting a small job, and the whole list runs about sixty to eighty dollars at any hardware store in the DMV.
| What | Why it is on the list | Typical cost |
|---|---|---|
| N95 respirators, 5-pack (P100 for anything dusty) | A surgical mask does nothing for spores. This is the one item not to skip. | $10–$15 |
| Nitrile gloves, long cuff | Cleaning solution and spores both; long cuff keeps it off your forearms. | $8–$12 |
| Sealed eye protection | Goggles, not safety glasses — spores come in from the sides. | $8–$12 |
| Spray bottle + dish detergent | Plain detergent and water. Genuinely what the EPA recommends for hard surfaces. | $5–$8 |
| Microfiber cloths and a stiff brush | Disposable, because they go in the bag at the end. | $8–$12 |
| Contractor bags, 3 mil | Everything that touched it leaves the house in a sealed bag. | $10–$14 |
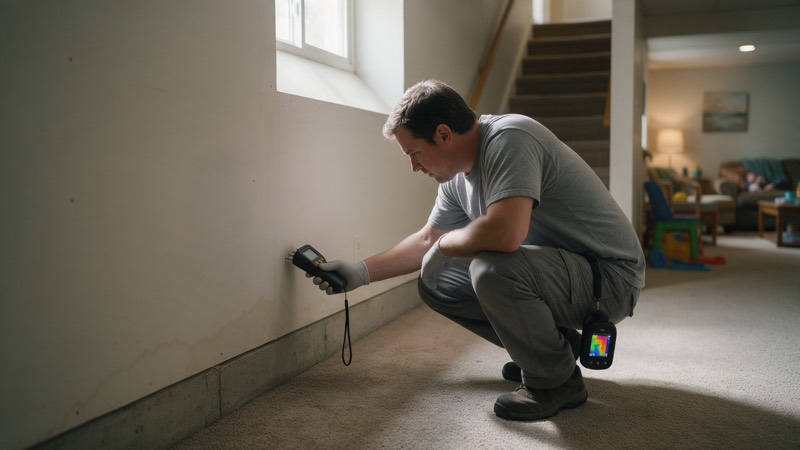
| Hygrometer | The single highest-value item here. More on this below. | $10–$12 |
| HEPA vacuum (borrow or rent) | A normal shop vac exhausts spores back into the room. If you cannot get HEPA, skip vacuuming entirely and wipe wet. | $40–$60/day to rent |
Core kit, before the vacuum: roughly $60–$85. Typical range for this market — not a quote. Every property is different, and the number that matters is the written scope you get after the free inspection.
The method that works on hard surfaces
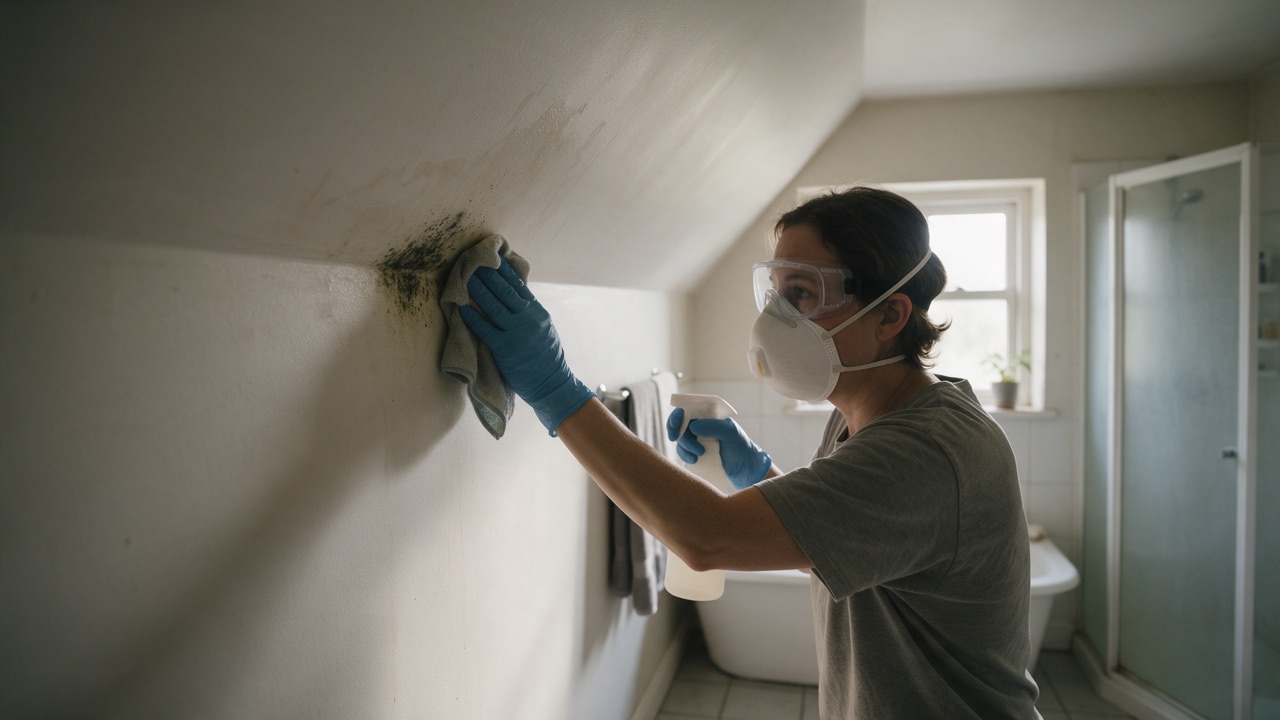
This is the whole procedure for a small, contained patch — a shower corner, a window sill, a bit of grout, the inside of a washing machine gasket. It takes about forty minutes.
- Fix the water first, or do not startA dripping shower arm, a window that sweats every winter morning, a toilet with a weeping supply line. Clean a surface while the water source is live and you will be cleaning it again in six weeks. This is the step people skip and it is the only one that determines whether the job holds.
- Close the room offShut the door. Turn off HVAC to that room — close the supply register and cover the return with plastic and tape if there is one. Do not put a box fan in the window: you have just built a machine for pushing spores into the rest of the house.
- Mist the area before you touch itLightly spray with your detergent solution and let it sit a minute. Wetting it first keeps spores from going airborne when you start scrubbing. Dry-brushing a dry colony is the single worst thing you can do in this whole process.
- Scrub with detergent and waterWork it with the brush, then wipe with a cloth, then wipe again with a clean damp cloth. You are physically removing growth, not chemically killing it — removal is what matters, and detergent does it.
- Dry it completely and fastTowel it down, then put a fan on that surface (not blowing around the room) or run a dehumidifier in the closed room. Residual moisture is what brings it back. Aim to be visibly and touch dry within a few hours.
- Bag everything and take it straight outsideCloths, brush, gloves, the lot. Seal the bag inside the room and carry it out — do not walk it through the house open.
- Check it in two weeksIf it is back, you did not find the water. That is information, not failure, and it is the point at which a free inspection is worth the hour.
Why bleach is the wrong tool — and what the pros actually use
Nearly everyone reaches for bleach, and for porous material it is close to useless. Two reasons.
First, household bleach is mostly water — the sodium hypochlorite is a small fraction of the bottle. On drywall, wood, or grout, the chlorine stays at the surface while the water soaks in. You have killed the top layer and delivered a fresh drink to the colony underneath. It comes back, often darker, usually within a month.
Second, bleach removes the colour very effectively, which is exactly what makes it dangerous. The stain disappears, the homeowner concludes the problem is solved, and the growth continues behind the finish for another year until the drywall is soft.
On hard, non-porous surfaces — tile, glass, a sealed tub surround — bleach is fine if you like it. It just is not better than detergent, and detergent will not bleach out your grout colour.
Never mix bleach with ammonia or any other cleaner
Bleach plus ammonia produces chloramine gas, which causes serious respiratory injury in an unventilated bathroom. A lot of general-purpose and glass cleaners contain ammonia. If you use bleach, use it alone, with the window open.
The seven mistakes that turn a small job into a big one
- Painting over it. Mould-resistant primer is for clean, dry surfaces. Over active growth it buys three months and hides the evidence while the substrate keeps degrading.
- Running a box fan in the room. The instinct is right — move air, dry it out. The effect is to turn a localised problem into a whole-house one. Dry the surface, contain the room.
- Dry-scrubbing. Always mist first. A dry brush on a dry colony aerosolizes enormous numbers of spores into your own breathing zone.
- Using a regular vacuum. Standard filters pass spores straight through the exhaust and distribute them at speed. HEPA or nothing.
- Cleaning the face of drywall and calling it done. If it is growing on the paper facing, it is growing on the back too. Surface cleaning there is theatre.
- Ignoring the smell after the stain is gone. Odour is the most reliable signal you have. If it still smells musty, there is still active growth somewhere you have not found.
- Not finding the water. Every item on this list is downstream of this one. Mould is a symptom; water is the problem.
Humidity is the thing that actually prevents it
This is the part of the article worth more than the rest of it combined, and it costs twelve dollars. Buy a hygrometer, put it in your basement, and look at it.
Mould needs sustained moisture. Keep indoor relative humidity below 60% — ideally between 30% and 50% — and most growth simply cannot establish, no matter how many spores are drifting around. Every house in this region has spores in the air; that is normal and unavoidable. What you control is whether they find conditions to grow in.
| Reading on your hygrometer | What to do about it |
|---|---|
| Under 50% | Nothing. This is where you want to be. |
| 50–60% | Watch it. Run bath fans longer, check that the dryer vents outside, crack a window on dry days. |
| 60–70% | Get a dehumidifier in that space. This is where growth starts. |
| Over 70% sustained | You have an active moisture source, not a ventilation issue. Something is leaking, seeping, or condensing. |
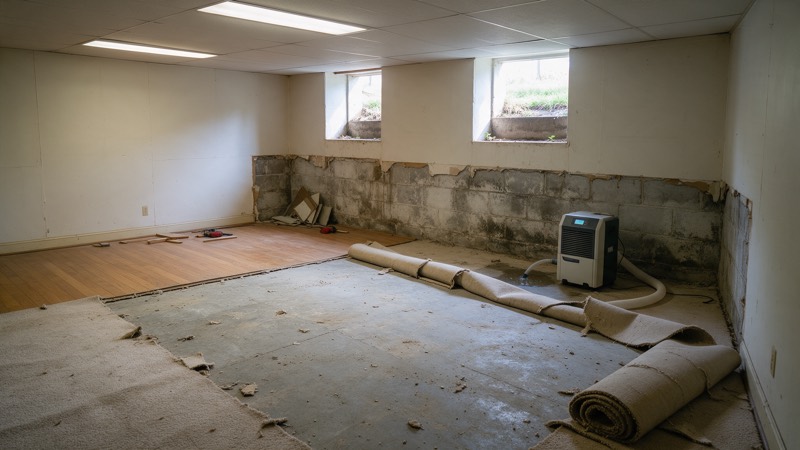
For a Mid-Atlantic basement, a 50-pint dehumidifier handles most spaces up to about 1,500 square feet; go bigger if it is already damp rather than just humid. Set it to 45–50% and run it on a drain hose into the sump or a floor drain so nobody has to remember to empty a bucket. The failure mode of every dehumidifier we see is a full tank in July.
Two free habits that beat most equipment
Run the bathroom fan for twenty minutes after the shower, not just during it — that is when the moisture is actually still in the room. And check that your dryer and bath fans terminate outside the house, not into the attic or a soffit. We find mis-terminated bath fans in attics constantly, and it is a cheap fix with a big effect.
Room by room: the quick wins
Bathroom ceiling and shower corners
Almost always a ventilation problem rather than a leak. Clean per the method above, then fix the cause: a fan that actually moves air (hold a square of toilet paper to it — it should hold), run on a timer switch for twenty minutes post-shower. If the ceiling is soft or stained brown rather than spotted black, that is water from above, not steam, and it is a different conversation.
Window sills and frames
Condensation in winter. Clean it, then address the condensation — storm windows, insulated cellular shades, or lowering the indoor humidity. Recurring black spotting on the sill in an older DC rowhouse is usually single-pane glass plus a humidifier running somewhere.
Washing machine gasket
Front-loaders hold water in the door seal. Pull the gasket back, clean the fold with detergent, and then leave the door ajar between loads. Run a hot empty cycle monthly. This one is pure maintenance and it never needs a professional.
Refrigerator drip pan and window AC units
Both hold standing water and both are forgotten. The drip pan under the fridge and the pan in a window unit want cleaning twice a year. A window unit that smells musty on startup is blowing that through the room it cools.
Finished basement
This is the one where DIY most often goes wrong in our region. Carpet pad and paper-faced drywall against below-grade block, a storm, a tired sump — and the growth is behind the wall rather than on it. If your basement smells musty and you cannot see anything, the smell is the finding. That is a basement job, and it starts with finding where water is getting in.
What it costs: doing it yourself versus hiring it out
The honest comparison, using the same typical ranges we publish on our service pages. The gap is large on purpose: below the ten square foot line, doing it yourself is the right call and the money says so. Above it, the professional number is mostly paying for containment, negative air, removal of material that cannot be cleaned, and an independent clearance test, none of which a homeowner can replicate with a spray bottle.
| Situation | Doing it yourself | Hiring it out |
|---|---|---|
| Small patch on tile, glass, grout, or a sill (under 10 sq ft) | $60–$85 kit, an afternoon | $600–$1,500 contained |
| Recurring bathroom ceiling growth | Kit plus a fan you can test yourself | $350–$900 to re-vent a bath fan through the roof |
| Growth on or behind drywall in one room | Not a DIY job | $1,500–$4,000 |
| Finished basement after a leak or backup | Not a DIY job | $4,000–$12,000, before reconstruction |
| Finding out whether you have a problem | $10–$12 hygrometer | Visual inspection free; air sampling $350–$600 |
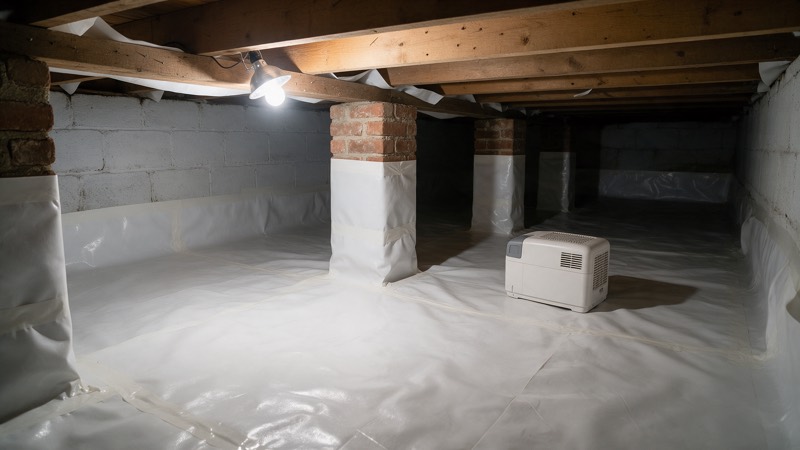
| Keeping a basement dry | $200–$350 for a 50-pint dehumidifier | $1,200–$2,800 for an installed crawl space unit |
If your situation sits in a "not a DIY job" row, the cheapest version is the one done before the growth spreads. Typical range for this market — not a quote. Every property is different, and the number that matters is the written scope you get after the free inspection.
Check your insurance before you spend anything
Mold that follows a sudden water event, such as a burst pipe, a failed supply line, or a storm-driven roof leak, is often covered, usually up to a mold sublimit. Mold from long-term seepage usually is not. Photograph everything before you clean, because once it is gone so is your evidence. More in our insurance section.
Where you stop
Call somebody — us or anyone competent — when any of these are true:
- The affected area is bigger than about ten square feet.
- It is on or behind drywall, insulation, or subfloor rather than on a hard surface.
- There was a flood, a sewage backup, or standing water for more than 24 to 48 hours.
- The HVAC system has been running and the smell tracks with it.
- It has come back after you cleaned it properly — meaning the water source is still live and unfound.
- Somebody in the house is getting symptoms that ease when they leave.
- You need documentation: a real estate contingency, a lender, an insurer, or a landlord dispute.
If there is active water right now, stop reading
Wet building material begins to colonize in roughly 24 to 48 hours. In that window it is a drying bill; after it, it is a remediation bill. Shut the water off, photograph everything before you move it, and call 202-798-7663. That is the whole emergency procedure.
The regional footnote
Everything above applies anywhere. Three things are specific to living here. Our summers run humid enough that an unconditioned basement or crawl space sits above 60% relative humidity for months without any leak at all. The housing stock in DC and inner Maryland is old enough that below-grade finished space is usually built tight against uninsulated masonry. And the clay soil across Northern Virginia holds water against foundations instead of draining it, so grading and downspouts matter more here than the equivalent house in a sandier region.
None of that changes the DIY rules. It just means the moisture side of the equation needs more attention in this region than the cleaning side — which is, in the end, the whole point of this article.
Not sure which side of the line you are on?
The inspection is free and we will tell you honestly if it is a job you can do yourself.