Why Bleach Makes Mold Worse on Drywall (And What to Use Instead)
Bleach is not useless. On a tiled shower wall or a glass shower door it does a perfectly good job, and if that is where your mold is, you can stop worrying about which bottle you grabbed. The trouble starts when the same bottle gets aimed at drywall, which is where most of the mold in a Mid-Atlantic house actually lives. On that surface bleach does something worse than failing: it makes the problem look solved while the colony keeps growing behind the paint.
What you see when bleach "works"
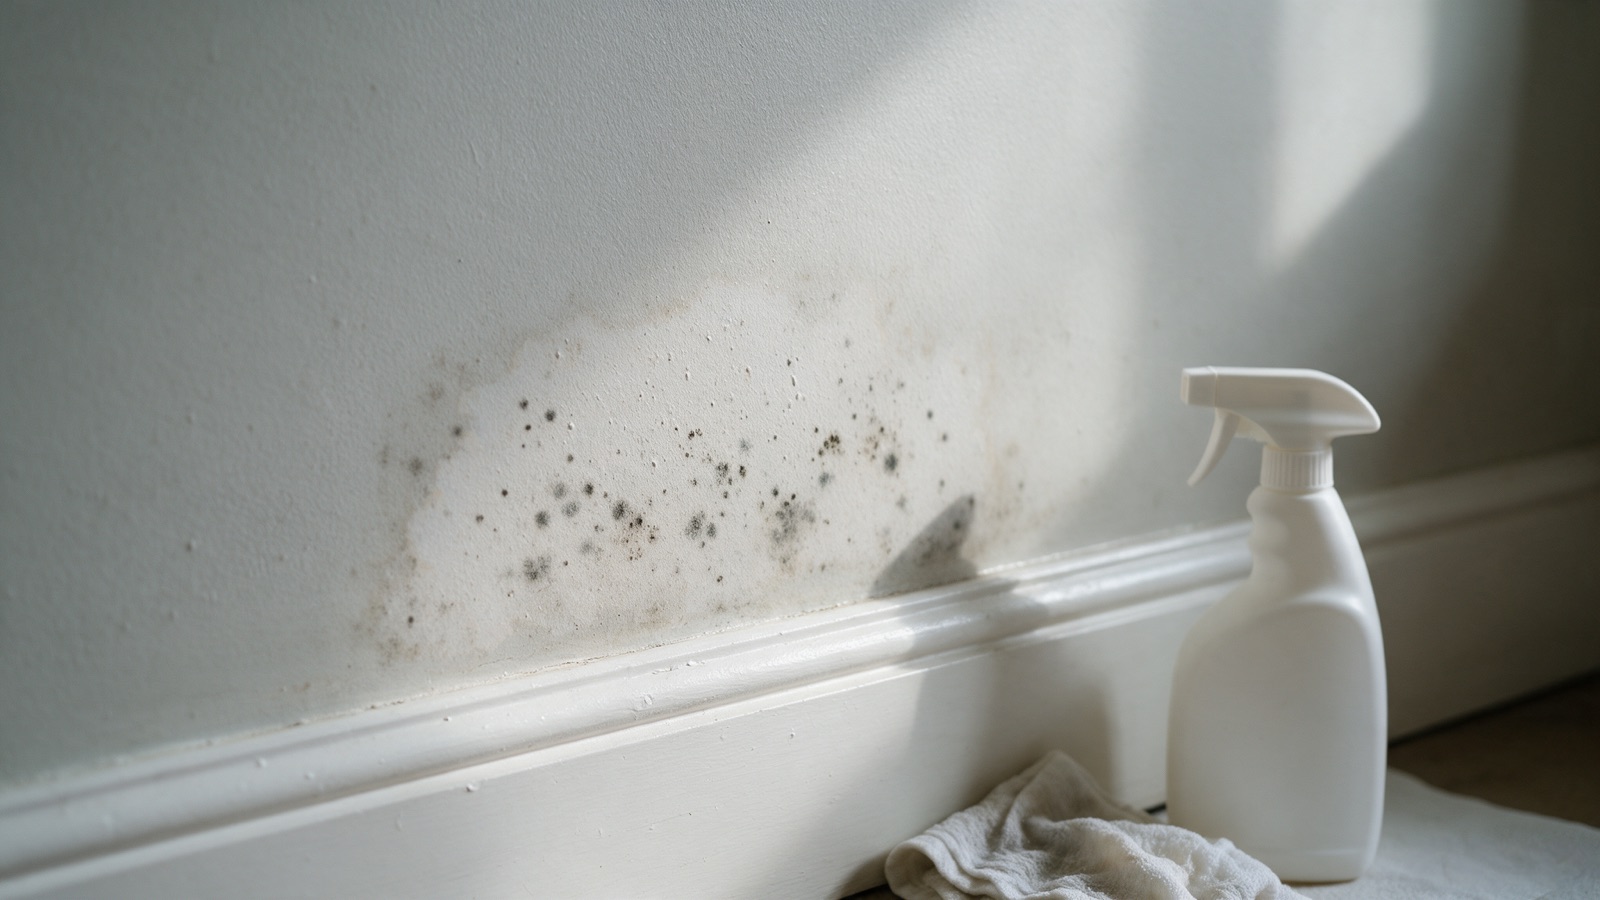
The pattern is so consistent that we can usually tell from a phone call. Someone sprays a patch of gray-black spotting on a basement wall or a closet ceiling. Within minutes the spots fade to a pale yellow or disappear entirely. The musty smell eases. A few weeks later the spots are back in the same place, often a little larger and a little darker, and the wall now has a faint ring where the bleach dried.
Nothing about that is bad luck. It is exactly what the chemistry predicts, and once you understand the reason, the right fix becomes obvious.
The chemistry, in plain terms
Household bleach is a dilute solution of sodium hypochlorite in water. The active ingredient is a small fraction of the bottle; the rest is water. That matters because of how drywall is built: a gypsum core sandwiched between two sheets of paper. Paper is food for mold, and gypsum wicks moisture the way a sugar cube wicks coffee.
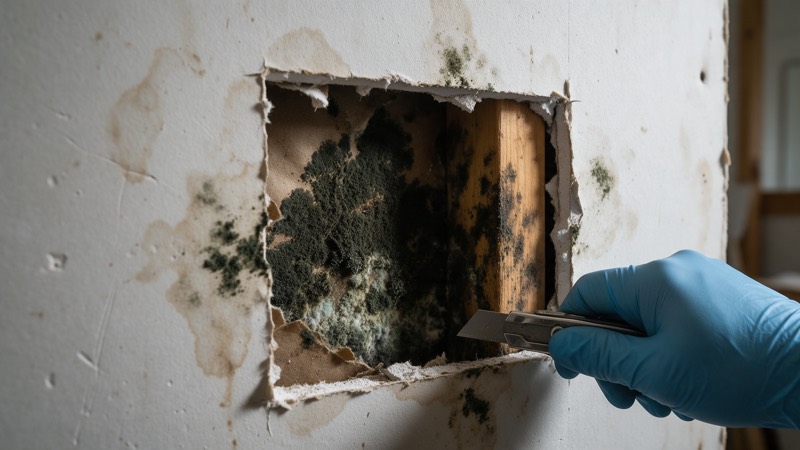
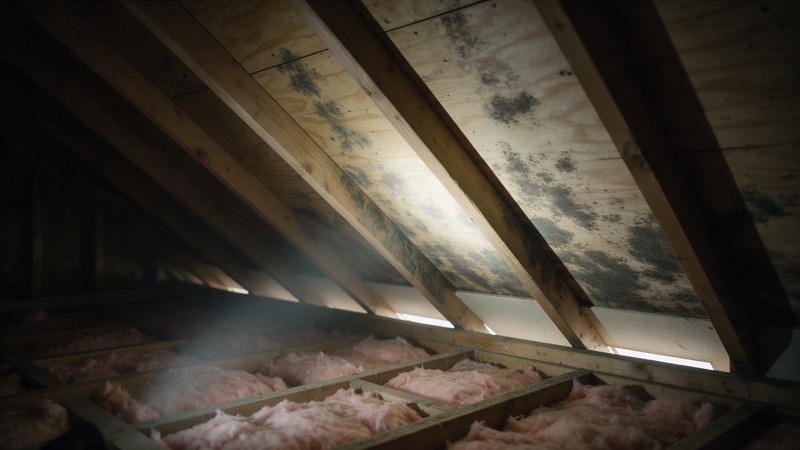
Mold on drywall is not a film sitting on top. The visible spots are the fruiting part of a colony whose root-like filaments, called hyphae, run into the paper facing and often through to the back. When you spray bleach on it, three things happen at once:
- The chlorine stays near the surface. Hypochlorite reacts quickly with whatever organic material it touches first, which is the paint, the paper face, and the visible growth. Very little of it reaches the filaments deeper in.
- The water keeps going. Water has no such limit. It soaks into the paper and the gypsum behind it, raising the moisture content of exactly the material the colony is living in.
- The color disappears. Bleach is very good at bleaching. The pigment in the visible spores breaks down, so the patch looks clean even when the growth underneath is untouched.
Put those together and you have killed the top layer, watered the roots, and removed the only visual evidence you had. That is why the regrowth is often darker: the colony is healthier than it was before you started.
This is also what the EPA says
The EPA's homeowner guidance on mold cleanup does not recommend routine use of bleach or other biocides. The goal is to physically remove the growth and fix the moisture, because dead mold can still cause reactions in sensitive people. Killing it in place is not the same as getting rid of it.
Hard surface or drywall? Test before you clean
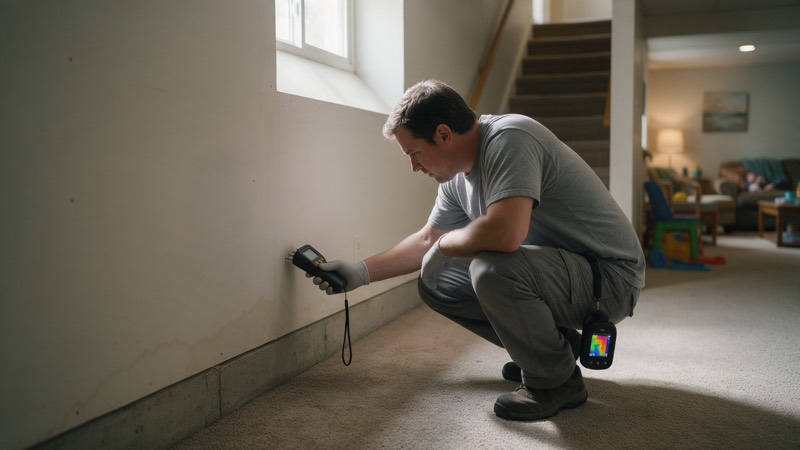
Everything in this article turns on one question: is the mold on something that can be cleaned, or on something that has been colonized through? You can answer that yourself in about ten minutes with a screwdriver, a flashlight, and ideally an inexpensive pin-type moisture meter.
- Put on an N95 and gloves firstYou are about to touch the wall. Even a light press can release spores from a mature colony, and an N95 is the cheapest insurance in this whole job.
- Press the wall around the spotsUse the flat of your thumb, then the handle of a screwdriver, working outward from the visible growth. Sound drywall is hard and rings slightly when tapped. Soft, spongy, or crumbly board has been wet long enough to lose its structure, and no cleaner will bring it back.
- Read the moistureA pin-type moisture meter on its drywall setting tells you whether the wall is still wet. Take a reading on the patch and another on the same wall several feet away. A clearly higher reading at the patch means the water source is still live, and cleaning should wait until it is found.
- Look at the paint and the paperBubbling paint, peeling paper facing, or a brown tide-line around the spots all mean water has been in the board itself, not just condensing on the surface. Spots on intact, glossy paint with a dry reading behind them are the best case.
- Measure the affected area honestlyInclude the soft or wet area around the visible spots, not just the spots. If it comes to more than about ten square feet, this stops being a cleaning job (more on that below).
If the board is hard, dry, and the growth sits on intact paint, you are looking at a surface problem and you can clean it. If the board is soft, wet, or the paper is lifting, the material needs to come out, and the question becomes how much.
What to use instead of bleach
None of the alternatives below is magic. What they share is that they do not leave the board wetter than you found it, they do not hide the evidence, and they support the step that actually matters, which is removal.
Dish detergent and warm water
This is the one the EPA points to for hard surfaces, and it is the right first choice on painted drywall too. Detergent lifts the growth so you can wipe it off and bag it. Use a barely damp cloth rather than a soaking one, and dry the surface immediately afterward.
Three percent hydrogen peroxide
The brown pharmacy bottle. It breaks down into water and oxygen, it does not leave a residue, and it is gentler on paint than bleach. Mist it lightly, let it sit about ten minutes, then wipe. Test a hidden spot first, because it can lighten some paint colors.
Undiluted white vinegar
Useful on painted surfaces and around windows, and it has no harsh fumes. It does have a strong smell that fades as it dries. Spray, wait about an hour, wipe, and dry. Never combine it with bleach.
What professionals actually use
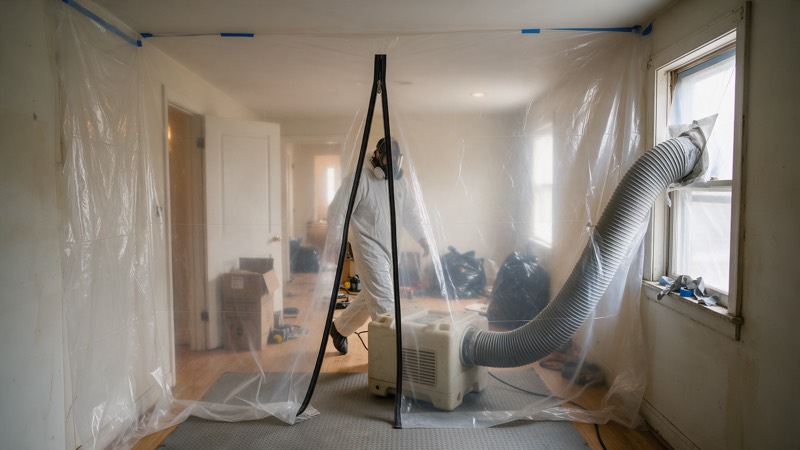
On a remediation job the cleaning product is the least important part. The work is containment with plastic sheeting, negative air pressure so spores move out of the house rather than into it, HEPA vacuuming, removal of any material that has been colonized through, and an EPA-registered antimicrobial applied to the framing that stays. After that, an independent clearance test confirms the work. That sequence is why the professional number in the pricing table below looks the way it does.
Never mix bleach with anything
Bleach and ammonia produce chloramine gas. Bleach and vinegar, or bleach and other acidic cleaners, release chlorine gas. Both can cause serious respiratory injury in a small, closed room like a closet or bathroom. Many glass and multi-surface cleaners contain ammonia. If bleach is already on the wall, rinse with plain water and let it dry before you try anything else.
How to clean surface mold on sound, painted drywall
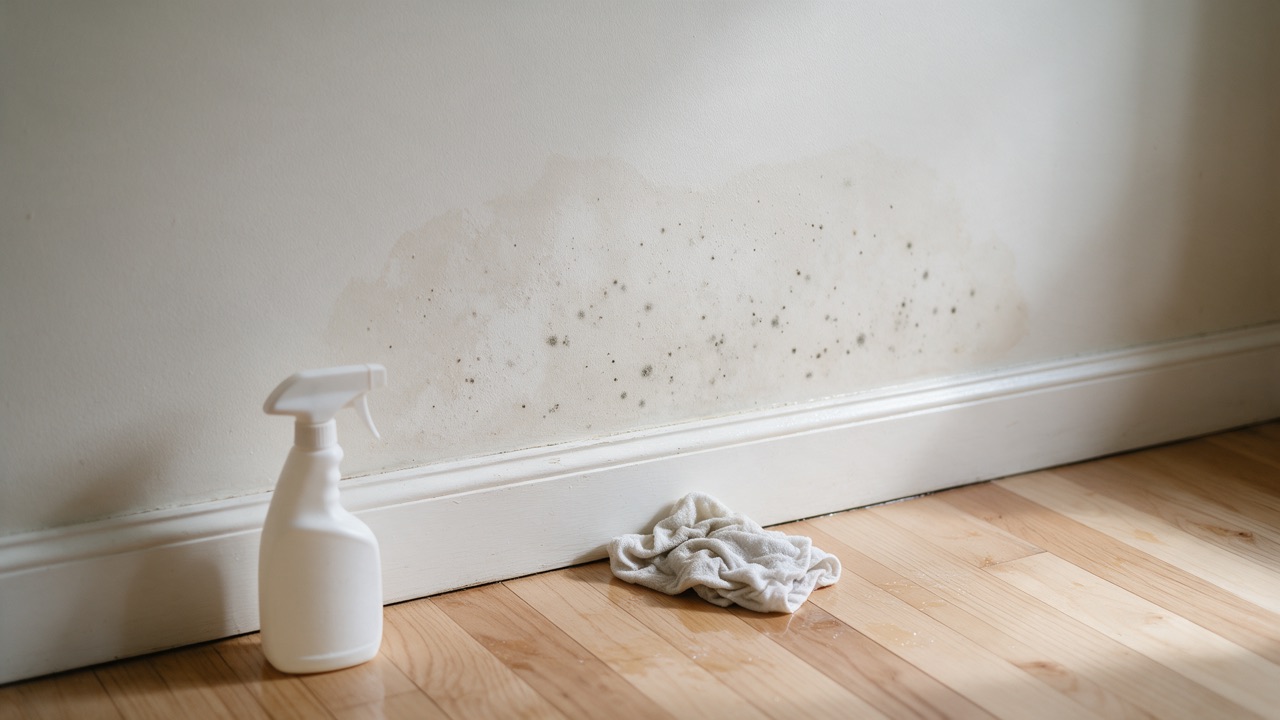
This applies only if the test above came back the good way: hard board, dry reading, intact paint, under ten square feet. It takes under an hour.
- Close the room and shut off the air. Shut the door, close the supply register, and cover any return grille in the room with plastic and painter's tape.
- Lay plastic at the base of the wall. Spores and debris fall. A drop sheet of plastic lets you fold them up and bag them rather than track them through the house.
- Mist lightly with detergent solution. Wetting the surface first keeps spores from becoming airborne when you start wiping.
- Wipe, do not scrub hard. Work from the outside of the patch inward with a damp microfiber cloth, folding to a clean face often. Hard scrubbing tears paint and pushes moisture into the paper.
- Follow with peroxide if staining remains. Light mist, ten minutes, wipe.
- Dry it within a few hours. Aim a small fan at the wall itself, or run a dehumidifier in the closed room.
- Bag everything in the room. Cloths, plastic, and gloves go into a contractor bag sealed before it leaves the room.
- Wait two weeks before you paint. If the spots return, the board is colonized or the water is still arriving, and paint will only hide it.
Should you paint over it with mold-resistant primer?
Only after a clean result has held for a couple of weeks and the wall reads dry. Mold-resistant primers and paints are good at keeping new growth from establishing on a clean, dry surface. They are not designed to treat active growth, and painting over a live colony simply seals it in with its food and moisture while it keeps degrading the paper underneath. The usual outcome is bubbling paint and a soft wall a season later, plus a disclosure problem if you sell.
When the drywall has to come out
If the board failed the press test, read wet, or has paper lifting off the gypsum, cleaning will not save it. The right fix is to remove the affected section, plus a margin of a foot or so of sound board around it, find and fix the water, let the framing dry, and replace the section.
A small cut-out of a few square feet is within reach of a careful homeowner who closes off the room, mists before cutting, scores the board with a utility knife rather than using a power saw, and bags the pieces inside the room. Larger sections, anything with insulation behind it, and anything on an exterior wall or below grade is a containment job. Cutting drywall without negative air is the single most efficient way to spread a one-wall problem through a house.
What it costs: doing it yourself versus hiring it out
The honest comparison, with professional figures matching the typical ranges on our remediation and black mold pages. For a small surface patch on sound paint, doing it yourself is clearly the right call. Once the board itself is colonized, most of the professional cost is containment, removal, and an independent clearance test, none of which a spray bottle replaces.
| Situation | Doing it yourself | Hiring it out |
|---|---|---|
| Surface spots on sound, painted drywall (under 10 sq ft) | $40–$70 in supplies, about an hour | $600–$1,500 contained |
| Checking whether the board is wet | $25–$40 pin-type moisture meter | Visual inspection with moisture mapping is free |
| Spots that came back after bleach | Clean properly once, then find the water | Tape-lift sample $75–$150; air sampling $350–$600 |
| Small cut-out and patch, a few sq ft | $60–$110 in materials, a weekend | $600–$1,500 contained |
| Colonized drywall across one room | Not a DIY job | $1,800–$4,500 with drywall removal |
| Proving it is gone (sale, lender, landlord) | Not something you can self-certify | Clearance testing $450–$800 |
Reconstruction (new drywall, finishing, paint) is quoted separately on professional jobs. Typical range for this market — not a quote. Every property is different, and the number that matters is the written scope you get after the free inspection.
And the supply list itself, at typical hardware store prices around the DMV:
| Item | Why it is on the list | Typical cost |
|---|---|---|
| N95 respirators, 5-pack | Spores are the exposure; a dust mask does not seal. | $10–$15 |
| Nitrile gloves and sealed goggles | Cleaners and spores both stay off skin and eyes. | $15–$25 |
| 3% hydrogen peroxide or white vinegar | For staining that detergent leaves behind. | $3–$6 |
| Spray bottle, dish detergent, microfiber cloths | The core of the cleaning method. | $10–$15 |
| Plastic sheeting and painter's tape | Drop sheet and register covers. | $15–$25 |
| Contractor bags, 3 mil | Everything leaves the room sealed. | $10–$14 |
| Pin-type moisture meter | Tells you whether the wall is still wet, which decides everything. | $25–$40 |
| Drywall patch materials (panel, compound, tape, knife) | Only if a small section has to come out. | $35–$60 |
| Mold-resistant primer, quart | After the clean result has held and the wall reads dry. | $15–$25 |
Cleaning only, without the meter or patch materials: roughly $40–$70. Typical range for this market — not a quote. Every property is different, and the number that matters is the written scope you get after the free inspection.
Where you stop
Everything above assumes a small patch on a wall that is otherwise sound. The job changes when any of the following is true.
Stop and get it looked at if:
The affected area, including soft or wet board around the spots, is larger than about ten square feet; the drywall is soft, crumbling, or reads wet days after you dried the room; the spots came back after a careful cleaning; there is insulation, an exterior wall, or a below-grade foundation behind the board; the growth followed a flood, a sewage backup, or a leak that ran for more than a day or two; or anyone in the house is immunocompromised, pregnant, an infant, or asthmatic. In DC, mold work above roughly ten square feet falls under the DC Mold Assessment and Remediation Act and has to be done by a licensed professional. Call 202-798-7663 or book a time online, and we will tell you honestly whether it is still a DIY job.
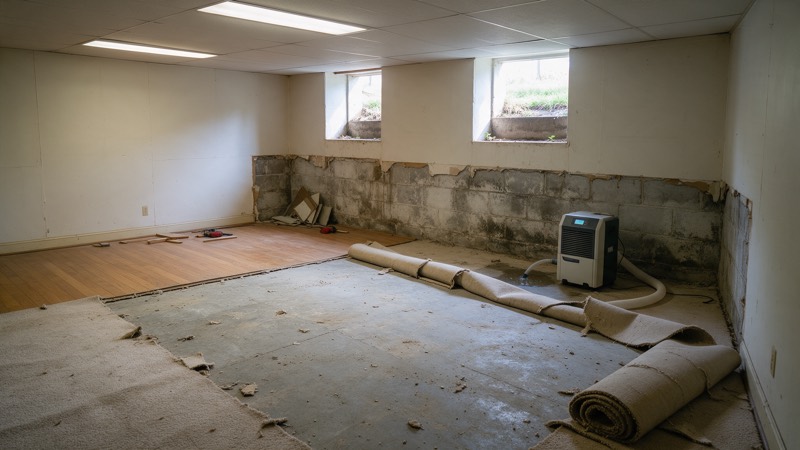
Spots that keep returning are information, not failure. They mean water is arriving from somewhere, and a mold inspection with moisture mapping finds it before anyone opens a wall. In a finished basement, that source is usually below grade, which is a basement job rather than a wall-cleaning one.
Why this matters more in the DMV
Three things about this region push mold onto drywall rather than tile. Our humid summers keep unconditioned closets and basements above the humidity where growth starts, without any leak at all. A great deal of the housing stock in DC and inner Maryland has finished rooms built tight against old masonry that wicks ground moisture. And a burst pipe or a storm-driven roof leak lands on paper-faced board in almost every room of a modern house.
None of that changes the rule. Keep the bleach for the tub and the shower glass. On drywall, clean with detergent, dry it fast, find the water, and if the board itself has gone soft, take it out rather than trying to wash it back to health.
Not sure which side of the line you are on?
The inspection is free and we will tell you honestly if it is a job you can do yourself.