Bathroom Ceiling Mold: The 40-Minute Fix and the Fan Test That Prevents It
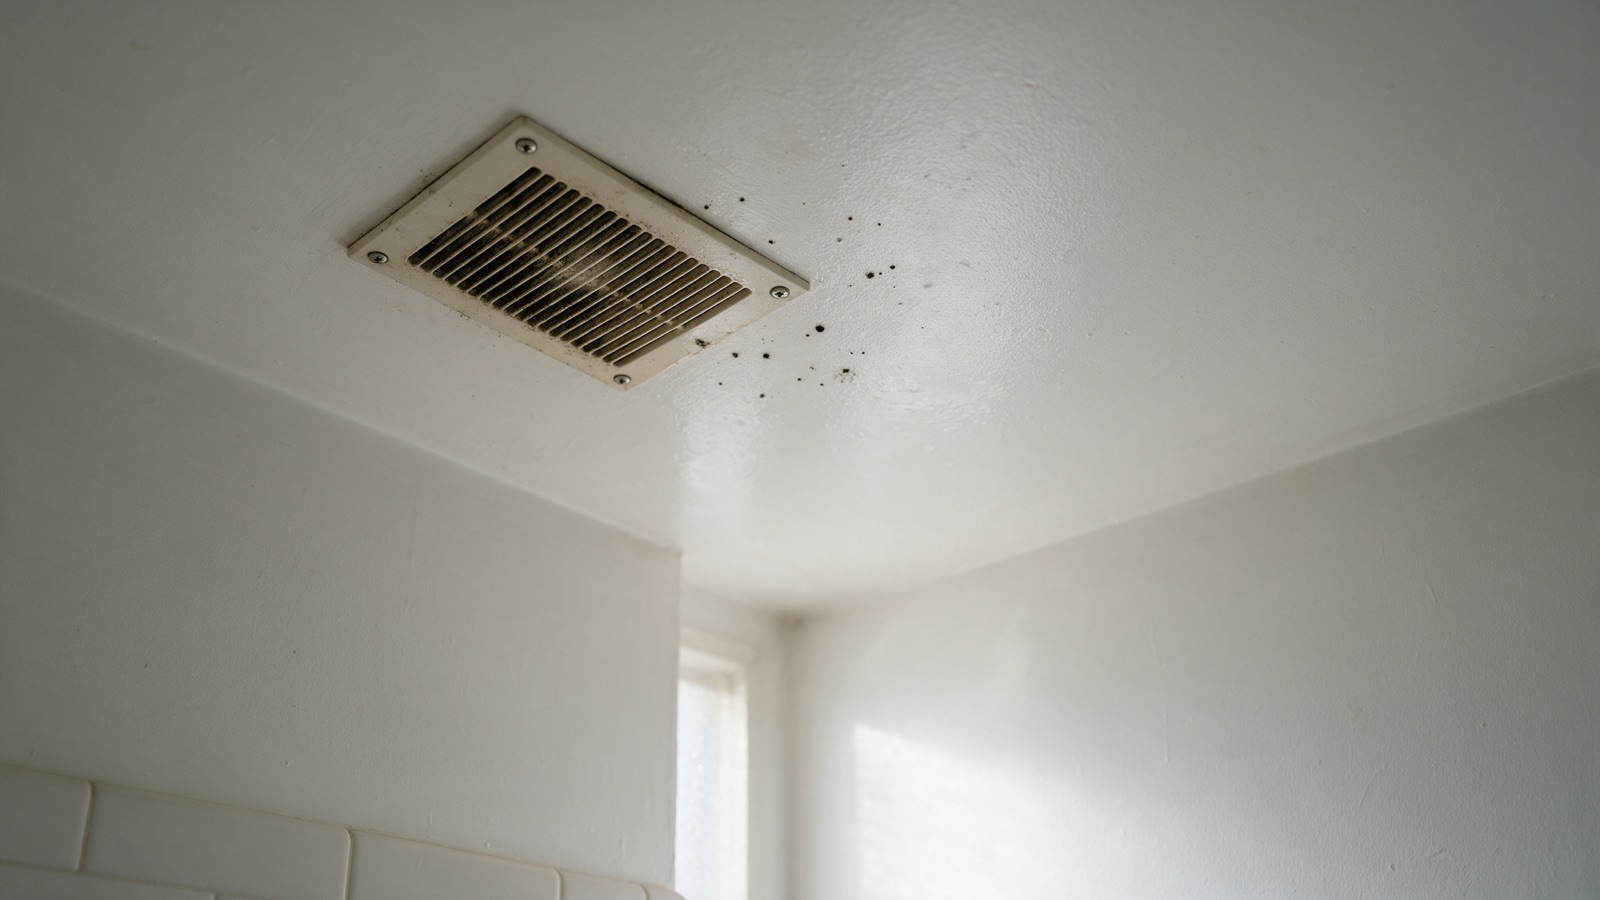
Mold on a bathroom ceiling looks worse than it usually is. We get plenty of calls from people who have watched a scatter of black dots spread across the paint above the shower and assumed the worst, and most of the time the honest answer is that this is a homeowner job. It takes about forty minutes and costs less than a takeout dinner. The part that actually matters is the second half of this article, because a ceiling you clean without fixing the airflow will look exactly the same by spring.
Why it grows on the ceiling and not the walls
Hot shower air rises. The warm, saturated air from a ten-minute shower collects at the ceiling first, and the ceiling is often the coldest painted surface in the room, especially under an attic or along an exterior wall. When that warm air meets the cooler drywall, water condenses on the paint in a film too thin to see. Do that once a day, every day, and the paint never fully dries between showers.
Mold does not need a leak. It needs a surface that stays damp for long stretches, a little organic material to feed on (paint binders, soap residue, household dust), and time. A bathroom ceiling with a weak fan supplies all three. That is why the growth almost always starts in the corner above the shower head and spreads outward in a rough fan shape, tracking where the steam lingers longest.
Corners show it first for a second reason. Air barely moves where two cold surfaces meet, so moisture sits there longest. If you see a tidy dark line along the ceiling-to-wall joint on the exterior side of the room, that is the same physics at work, plus a thin spot in the insulation above.
First, make sure it is condensation and not a leak
Before cleaning anything, look at what kind of mark you have, because two very different problems can show up in the same place.
| What you see | What it usually means |
|---|---|
| Scattered black or gray specks, flat paint, ceiling feels firm | Condensation mold from steam. This article is for you. |
| A brown or yellow ring with a defined edge | Water from above: a plumbing line, a toilet or tub upstairs, a roof leak, or a bath fan duct dripping condensate back down. |
| Peeling or bubbling paint with spots underneath | Moisture has been getting behind the paint film for a while. Clean it, but check the drywall for softness. |
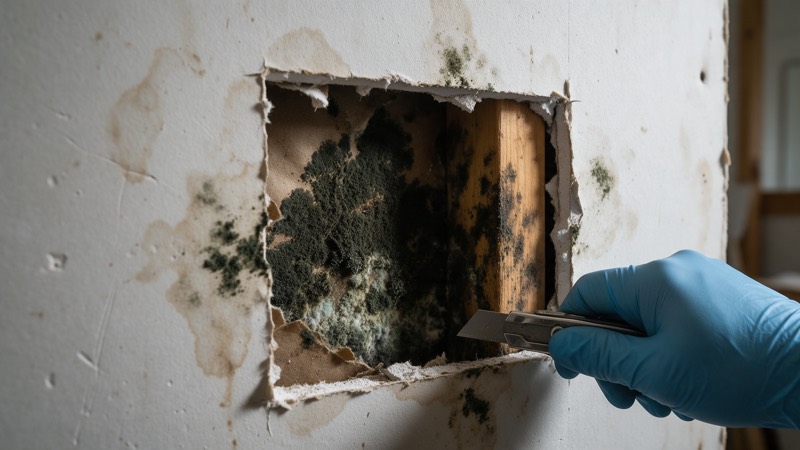
| Sagging, soft, or crumbly drywall | The board is saturated. Surface cleaning will not help; the panel needs to come out. |
| Spotting that rings the fan grille itself | Warm moist air is leaking around the fan housing into a cold attic, or the duct is disconnected. |
Press gently on the stained area with your fingertips. Sound drywall feels like a tabletop. Wet or damaged drywall gives slightly, or feels chalky. If anything about the stain says "from above" rather than "from the shower," skip ahead to the section on when to stop.
What you need for the forty-minute fix
Everything here is at any hardware store in DC, Northern Virginia, or Maryland, and the whole list runs roughly thirty to fifty dollars if you are starting from nothing.
- An N95 respirator. You will be working overhead, so whatever comes off the ceiling falls toward your face.
- Sealed goggles. Same reason. Working overhead is the one situation where eye protection is not optional.
- Nitrile gloves, plus a spray bottle of water with a squirt of dish detergent.
- A sponge with a scrubbing side, two or three microfiber cloths, and a contractor bag.
- A sturdy step stool, not the edge of the tub. A wet tub rim is how this job ends at urgent care.
- Stain-blocking primer and bathroom-rated paint, only if the stain remains after cleaning (more on that below).
Skip the bleach
Bleach removes the color of the stain very well, which is the problem: the ceiling looks clean while growth keeps going in the paint and paper below. On painted drywall, plain detergent and physical removal do the real work. If you do use bleach anywhere, never mix it with ammonia or any other cleaner, and keep the window open.
The forty-minute method, step by step
- Turn the fan on and open the windowShut the bathroom door so you are not pushing anything into the hallway, and run the exhaust fan the whole time. If the HVAC has a supply register in the bathroom, close it for the duration.
- Gear up, then mist the areaPut on the respirator, goggles, and gloves. Lightly mist the spotted area with the detergent solution and wait a minute. Wetting it first keeps spores from drifting down when you start scrubbing. Never dry-wipe a dry patch.
- Scrub gently, wiping toward yourself in short strokesUse the scrubbing side of the sponge with light pressure. Flat ceiling paint will scuff if you push hard, and you are removing growth, not sanding. Rinse the sponge in a bucket often so you are not smearing it around.
- Wipe clean with a damp clothGo over the whole area with a fresh cloth dampened in plain water to lift the detergent and loosened growth. Then go over it once more with a dry cloth.
- Dry it hardLeave the fan running and the window open for at least an hour. On a humid summer day, close the window and put a small dehumidifier in the room instead. You want the ceiling bone dry before anyone showers again.
- Bag everything and take it straight outsideCloths, sponge, gloves. Seal the bag inside the bathroom and carry it out of the house.
- Look at it in daylight the next daySpecks that are completely gone mean you are done with cleaning. A faint gray shadow left in the paint is staining, which primer handles. Fuzzy texture or fresh spots mean the growth went deeper than the paint, and that changes the plan.
Should you repaint?
Only after the ceiling is clean and dry, and only to cover staining, never to cover growth. Painting over live mold is the most common bathroom mistake we see. It looks perfect for a few months, then the spots come back through the new paint, now with two layers of paint holding moisture against the drywall paper.
If you do repaint, use a stain-blocking primer first, then a paint labeled for bathrooms or high-humidity rooms, ideally in satin or semi-gloss. Glossier finishes shed condensation better than flat ceiling paint, and they wipe clean next time without scuffing. Mold-resistant additives help a little on a properly ventilated ceiling. They do almost nothing on a ceiling that is still getting soaked daily, which brings us to the fan.
The fan test that tells you why it happened
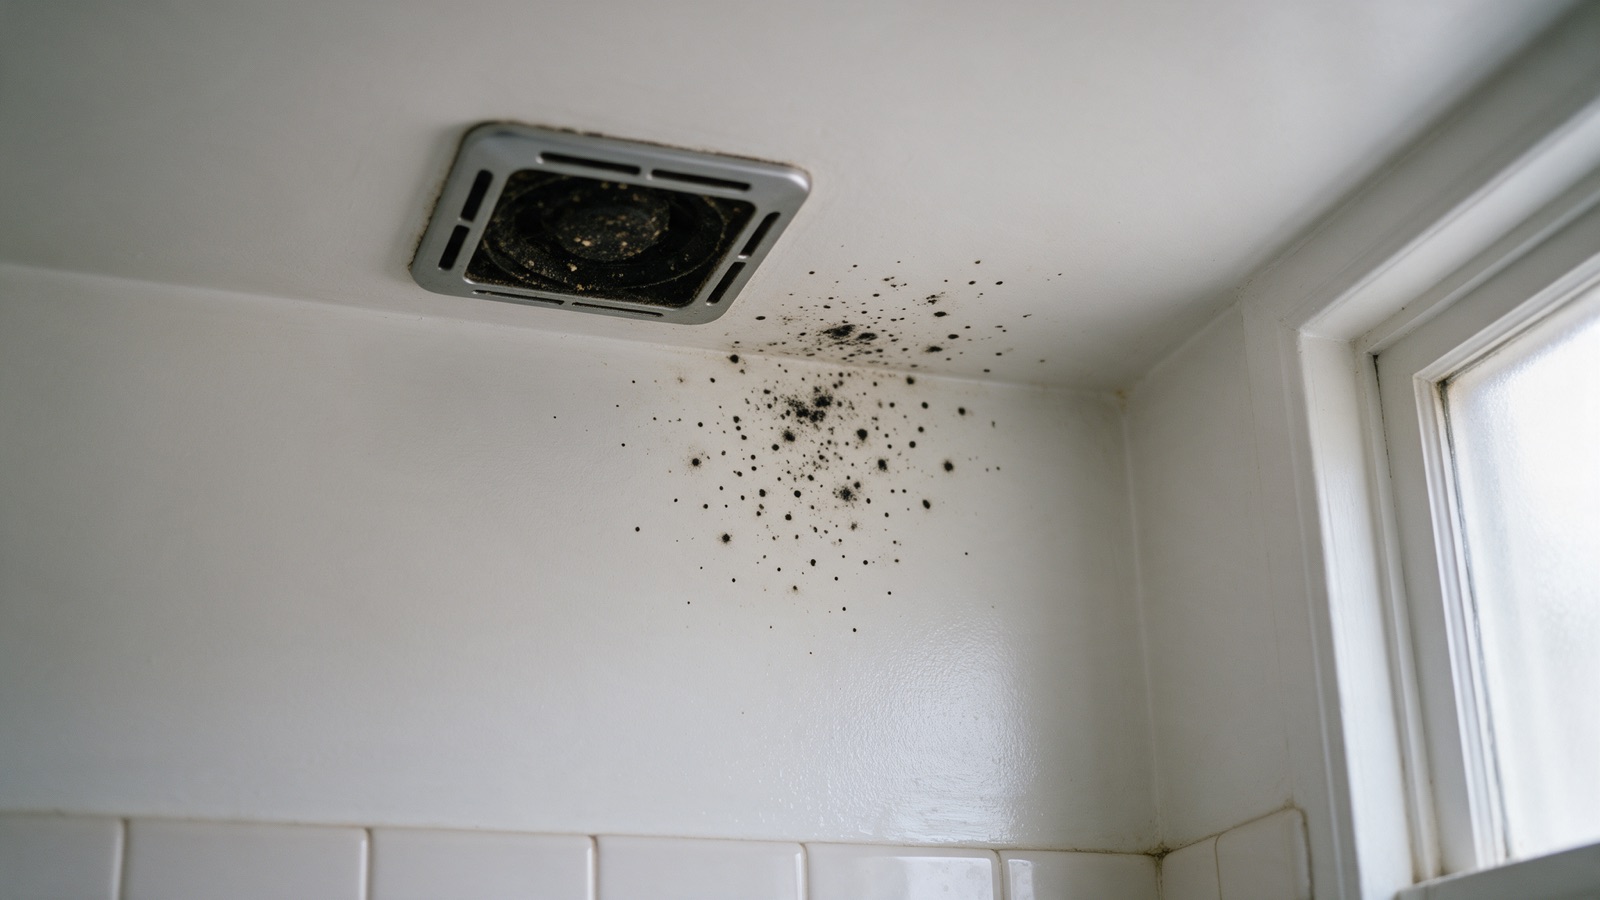
Here is the honest truth about most bathroom ceiling mold: the fan is either too weak, not ducted outside, or not running long enough. You can check all three in about five minutes with a square of toilet paper.
- Turn the fan on and wait thirty secondsClose the bathroom door, leaving the usual gap at the bottom. Fans need make-up air to work, and that gap under the door is where it comes from.
- Hold a single square of toilet paper just under the grilleLet go. A working fan holds the square flat against the grille on its own. If it flutters and falls, the fan is not moving enough air to clear a shower.
- Repeat with the door fully openIf the square holds with the door open but not closed, the fan is fine and the room is starved for air. Trimming the bottom of the door slightly is a cheap fix.
- Listen for the motorA fan that hums loudly but barely pulls is usually clogged with lint or has a failing motor. Pull the grille (most snap off with two spring clips) and vacuum the housing and blades.
- Go outside and find where it exhaustsYou are looking for a vent hood on an exterior wall or a roof cap. Turn the fan on and have someone check that the flap opens. No flap moving means the air is going somewhere it should not.
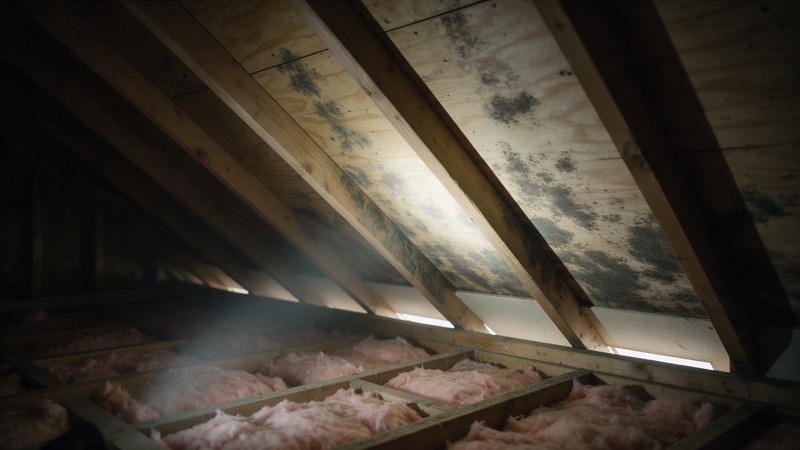
That last step catches more problems than any other. Plenty of bath fans in the region, especially in older houses and quick flips, were vented into the attic, into a soffit with no opening, or into a duct that came loose years ago. Every shower is then pumping warm wet air into a cold attic, and you end up with mold on the bathroom ceiling and on the roof sheathing above it. If you cannot find the termination, the fan almost certainly needs re-ducting, and the attic is worth a look. That is the attic mold scenario, and it is far more common than people expect.
How long to run the fan, and the switch that does it for you
Most people run the fan during the shower and switch it off on the way out. That is backward. The air is wettest right after you turn the water off, and the mirror is still fogged. Run the fan for at least twenty minutes after the shower ends, and leave the door ajar once you are out.
Nobody remembers to do that, so let a switch remember for you. A countdown timer switch or a humidity-sensing switch replaces the wall switch in about fifteen minutes and typically costs twenty to sixty dollars. The humidity-sensing type turns the fan on when the room gets steamy and off when it has cleared, which suits households where nobody will ever touch a timer. If you are not comfortable working on a switch box, any electrician can swap one in quickly.
Fan size matters too. A common rule of thumb is about one CFM (cubic foot per minute) of fan capacity per square foot of bathroom floor, with a floor of roughly fifty CFM for small rooms. The rating is printed on a label inside the housing once the grille is off. Many builder-grade fans are rated well under what the room needs, and long or crushed duct runs cut real-world airflow further.
Small habits that keep the ceiling dry
- Squeegee the shower walls and glass after each use. It takes thirty seconds and removes a surprising amount of water the room would otherwise have to dry.
- Keep the shower curtain or door open after the shower so the stall can dry out.
- Take slightly cooler showers in winter. Less steam, less condensation on a cold ceiling.
- Hang wet towels somewhere other than the bathroom if the room is small and windowless.
- Put a cheap hygrometer in the bathroom for a week. If it is still reading above 60% relative humidity an hour after showers, the ventilation is not keeping up.
- Wipe the corner above the shower once a month with your detergent spray. Catching the first faint specks is a two-minute job.
Typical costs if you hand off part of it
Most of this is DIY, but some pieces are reasonable to hire out. These are typical market ranges in the DMV, not quotes; the actual number depends on access, attic conditions, and what turns up once things are opened.
| Job | Typical range |
|---|---|
| DIY clean, prime, and repaint a ceiling | Roughly $30–$80 in materials |
| Timer or humidity-sensing switch, installed by an electrician | Roughly $100–$250 |
| Replace an undersized fan using the existing duct | Roughly $250–$600 |
| New fan with a new duct run to an exterior wall or roof | Roughly $500–$1,200, more for difficult roof access |
| Cut out and replace a section of moldy ceiling drywall | Roughly $400–$1,500, depending on size and finish |
Typical range for this market — not a quote. Every property is different, and the number that matters is the written scope you get after the free inspection.
When to stop and call
Everything above assumes surface growth on sound, painted drywall in a patch smaller than a bath mat. The job changes when any of the following is true.
Stop cleaning and get it looked at if:
The affected area is larger than about ten square feet; the drywall is soft, sagging, or crumbling; the stain is a brown ring that points to water from above; the spots come straight back within a few weeks of a careful cleaning; you found the fan venting into the attic and there is growth on the roof sheathing; or anyone in the house is immunocompromised, pregnant, an infant, or asthmatic. In DC, mold work above roughly ten square feet falls under the DC Mold Assessment and Remediation Act and has to be done by a licensed professional. Call 202-798-7663 or book a time online, and we will tell you honestly if it is still a DIY job.
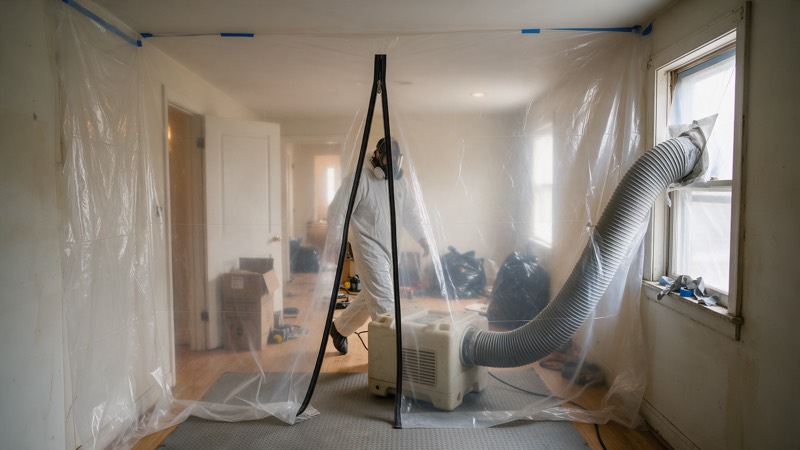
A bathroom ceiling that keeps coming back after the fan is fixed usually means moisture is arriving from somewhere other than the shower: a slow drip from an upstairs supply line, a failed wax ring on a toilet above, or a roof flashing problem if the bathroom sits under the roof. Those call for a proper mold inspection to find the source before anyone opens the ceiling. If the board does need to come out, that is remediation with containment, so the cut does not spread spores through the rest of the house.
A note for renters and rowhouse owners
If you rent, a bathroom fan that does not work, or does not exhaust outside, is generally a building system the landlord is responsible for maintaining. Document it with photos and the toilet paper test, report it in writing, and keep cleaning the surface in the meantime. DC, Virginia, and Maryland each address mold and habitability for tenants in different ways; we will cover the specifics by jurisdiction in a separate post.
In older DC rowhouses, interior bathrooms with no window and a fan ducted through a long, sagging run are routine. Condensate collects in the low point of the duct and can drip back down through the grille, which looks a lot like a roof leak. Rigid or semi-rigid duct, sloped slightly toward the exterior and insulated where it crosses a cold attic, fixes that for good.
None of this is complicated. Clean the ceiling the right way once, prove the fan is pulling air to the outside, and give it twenty minutes after every shower. In most houses, that is the end of bathroom ceiling mold.
Not sure which side of the line you are on?
The inspection is free and we will tell you honestly if it is a job you can do yourself.